

Choose a Harness and model
1
Open the model picker
On the new session page, click the model button in the bottom right of the input box. The button shows the current Harness and model name. “Subscription” after the model name means it comes from your subscriptions, and “BYOK” means it comes from an API key you added. Plus models have no label.
2
Choose a Harness
Click a Harness in the top part of the picker. When you change the Harness, the model resets to the Default model.
3
Choose a model
In the bottom part, switch between the Subscriptions and BYOK tabs and click a model. Plus models and your own API keys are both in the BYOK tab, with Plus models in the first group.
4
Send
Enter your task and send it. The session starts with this combination.
Which models work with which Harness
The picker only lets you choose models that the current Harness can use:- Your subscriptions pair by subscription type. For example, a Claude subscription works only with Claude Code, and a ChatGPT subscription works with Codex CLI.
- Your own API keys pair by API format: Claude Code needs an Anthropic-compatible API, and Codex CLI needs an OpenAI-compatible API.
- Plus models available vary by Harness.
Without Plus, the picker opens as usual, but the Plus model group cannot be selected. Click Get Plus under the group to subscribe. See Plus plan.
Adjust reasoning effort
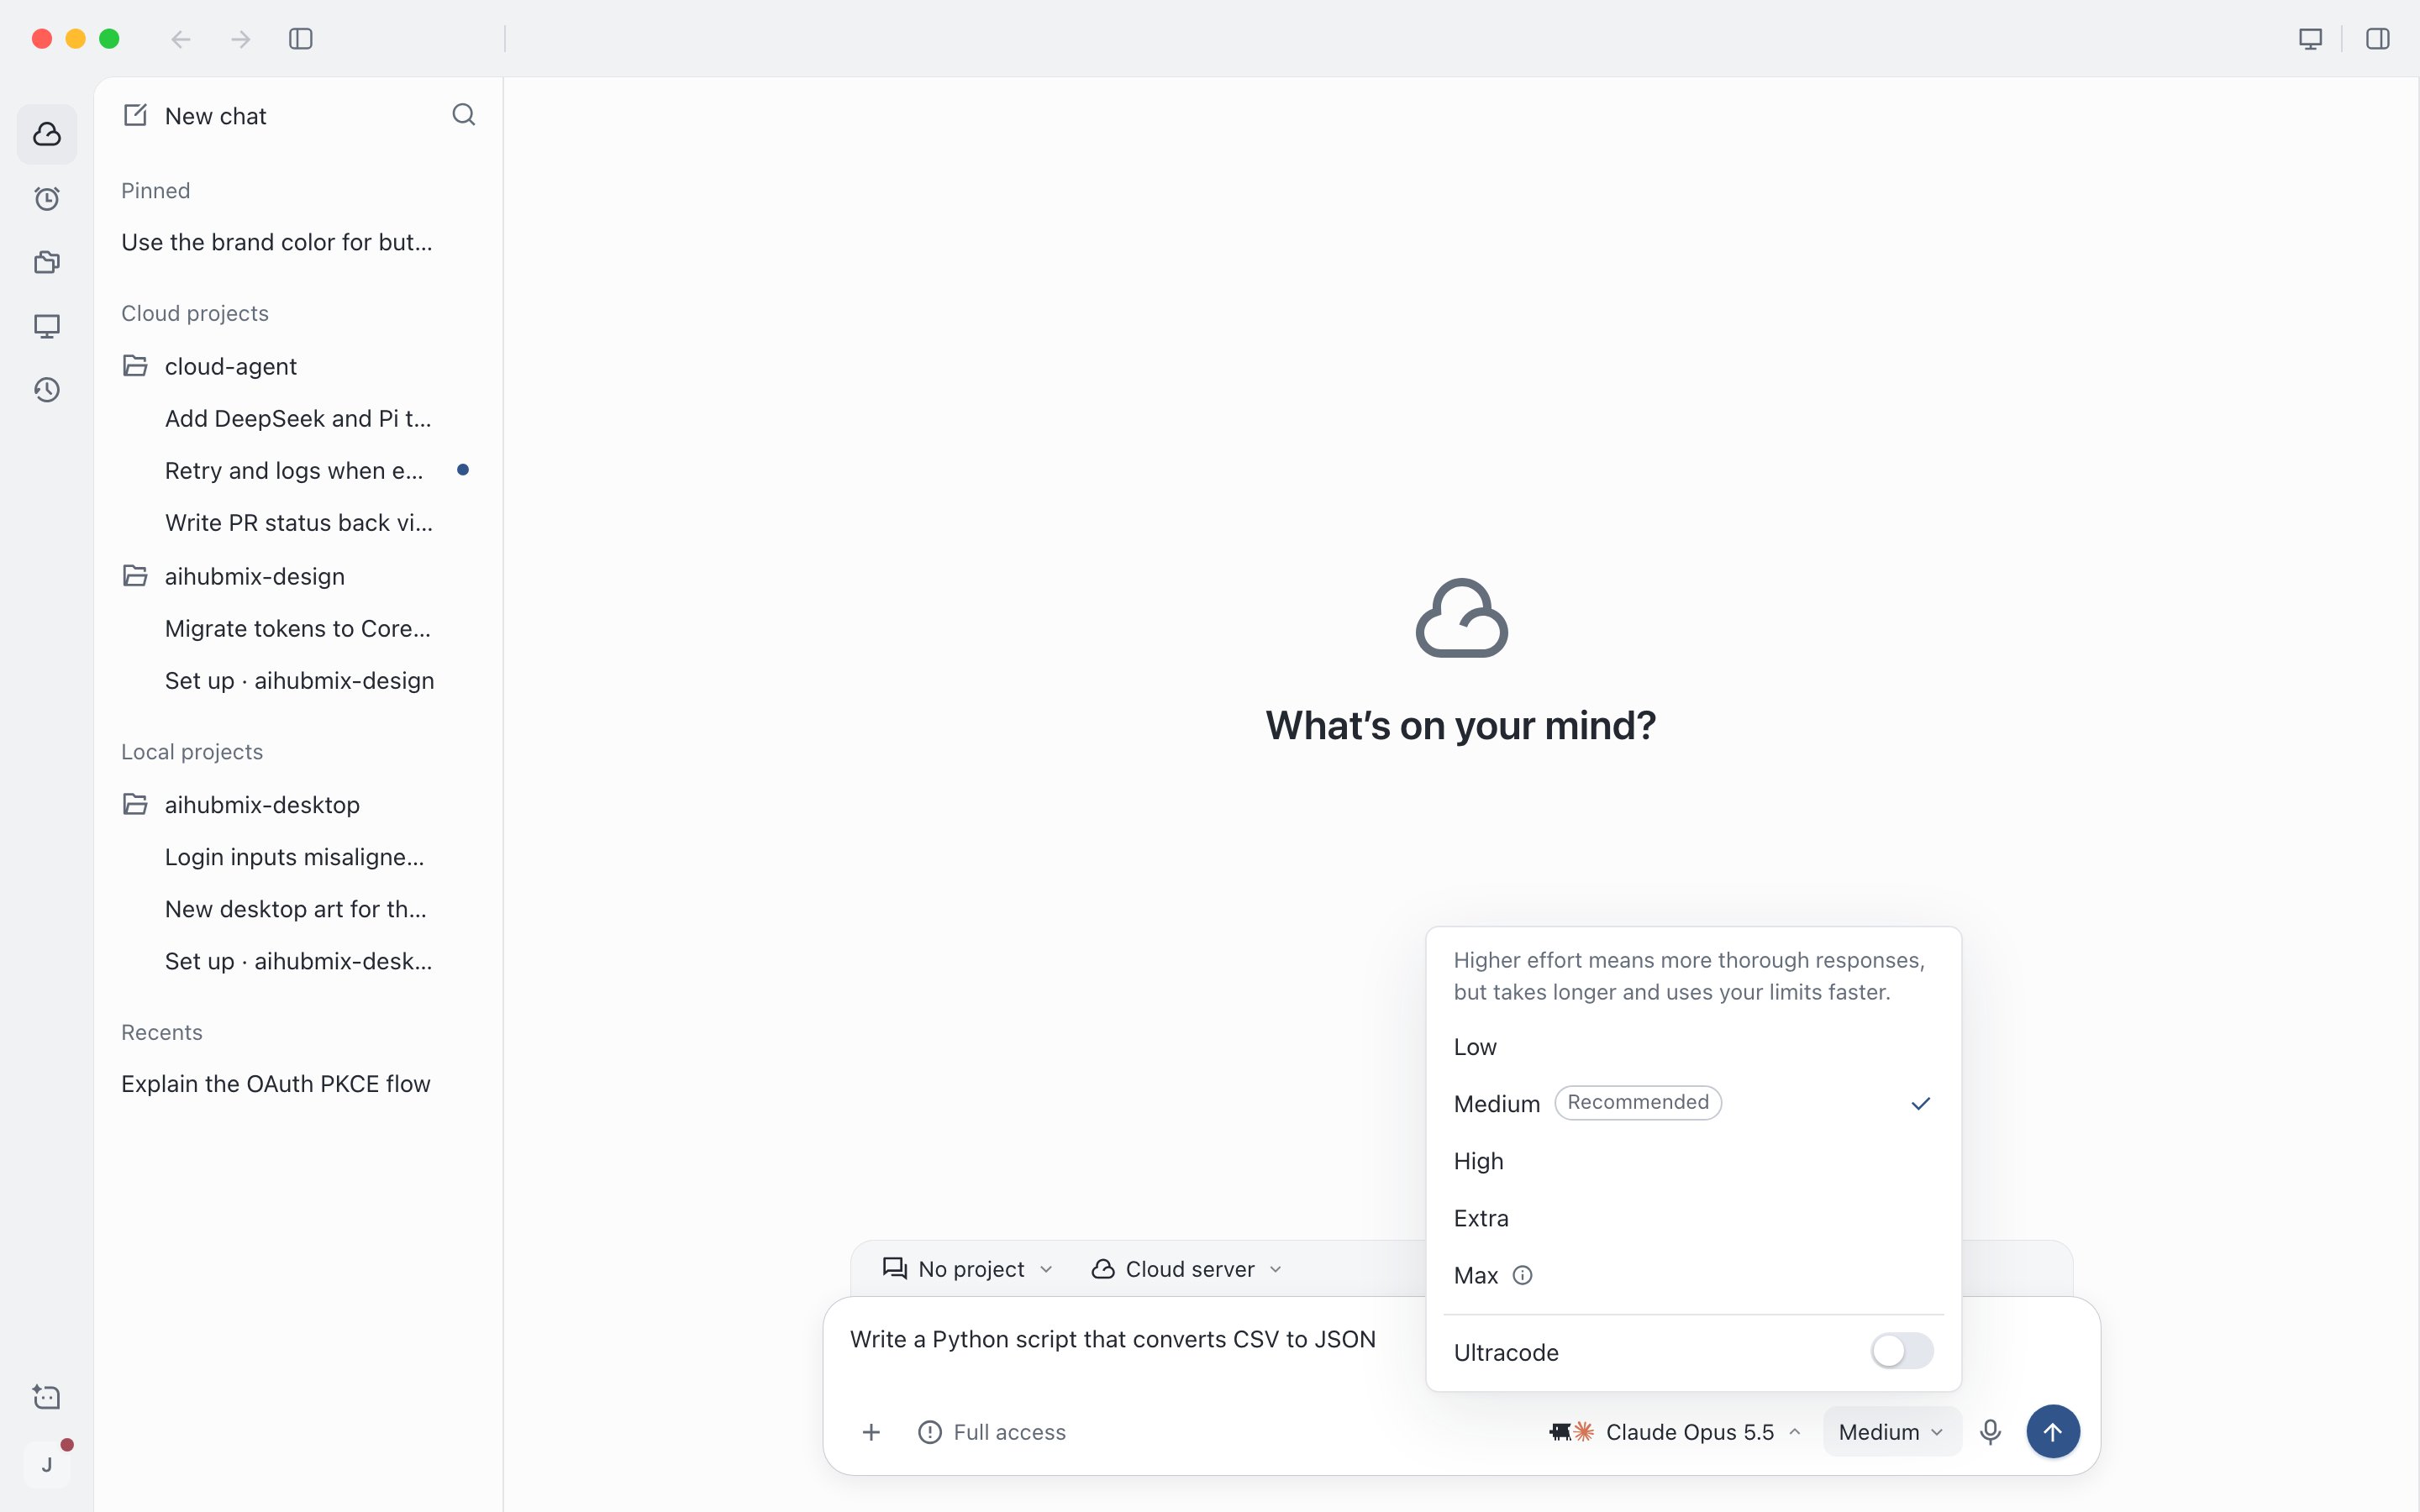
Reasoning effort controls how long the model thinks before it answers. Higher levels give more thorough answers but are slower and use more. Click the effort button next to the model button to choose. The button is hidden when the model does not support adjustment. The effort menu comes in two styles: Claude models show a list of Effort levels, and GPT models show an Effort slider. Other models use the list in Claude Code and the slider in other Harnesses. How to choose:- When unsure, use the level marked Recommended.
- Use a low level for small, simple edits to get faster responses. Use Medium for most tasks.
- Use High for complex changes, and Extra high for cross-file refactors and hard problems.
- Max (in the list only) can use a large number of tokens and respond very slowly. Use it only for the hardest tasks.
Reasoning effort slider: drag to choose a level, with a description of what the current level suits below
Ultra and Ultracode
Both make the Agent work on the task in parallel, use noticeably more, and suit truly difficult work.- Ultra: The highest level for some models in Codex CLI, at the far right of the Effort slider, with multiple subagents working in parallel. Usage is about 2 to 3 times that of Extra high, and each task takes longer. You are asked to confirm when you choose it. Click Turn on Ultra to apply.
- Ultracode: The multi-agent parallel switch in Claude Code, which splits the task into several subtasks completed at the same time. It sits below the Effort level list and does not change the level. When it is on, the effort button shows something like “High · Ultracode”. It requires all three of these: the Harness is Claude Code, the cloud server is ready, and the selected model supports Extra high. When any condition is not met, the switch is unavailable and shows the reason. Ultracode is off by default in new sessions.
Switch models during a session
After the first message is sent, the Harness is fixed. To use a different Harness, start a new session. If the session belongs to a project, click New task with another harness in the model picker to start a new session in the same project with another Harness. You can still change the model, source, and reasoning effort during a session. Changes apply from the next message, affect only this session, and do not change the defaults for new sessions.1
Wait for the Agent to finish the current task
You cannot switch models while the Agent is working.
2
Choose a new model
Click the model button and choose another model. You can choose across sources.
3
Confirm the switch
If the current context fits in the new model, it switches directly. The full session history is kept, and the new model picks up from there. If it does not fit, you are asked to confirm compaction first.