

Prerequisites
Before configuration, confirm that:- LibreChat is installed and running. Version v0.7.5 or later is recommended.
- You have created an API key in the AIHubMix console, usually in the
sk-***format. - You can edit the
.envfile in the LibreChat installation directory. It is usually in the LibreChat project root, next topackage.jsonanddocker-compose.yml. - The file path is usually
your-install-path/LibreChat/.env. If it does not exist, copy.env.examplein the same directory and rename it to.env.
Configure .env
Open the .env file in the LibreChat project root and add or update these lines:
.env, use LibreChat’s user-provided mode:
user_provided tells LibreChat to ask the current user for the API key in the UI. Both modes still expose AIHubMix models under the OpenAI endpoint.
If the primary API domain is unavailable, use the backup domain:
OPENAI_MODELS. If you want LibreChat to show only specific models, add a comma-separated list:
OPENAI_MODELS, or keep the existing # OPENAI_MODELS=... line commented out.
Restart LibreChat
After modifying.env, restart LibreChat so the new configuration takes effect:
- Local script: run your original LibreChat startup script again.
- Source or npm setup: open the LibreChat project root, where
.envis located, and rerun your normal startup command. - Docker setup: run
docker compose restartin the directory containingdocker-compose.yml, or restart the container.
Result
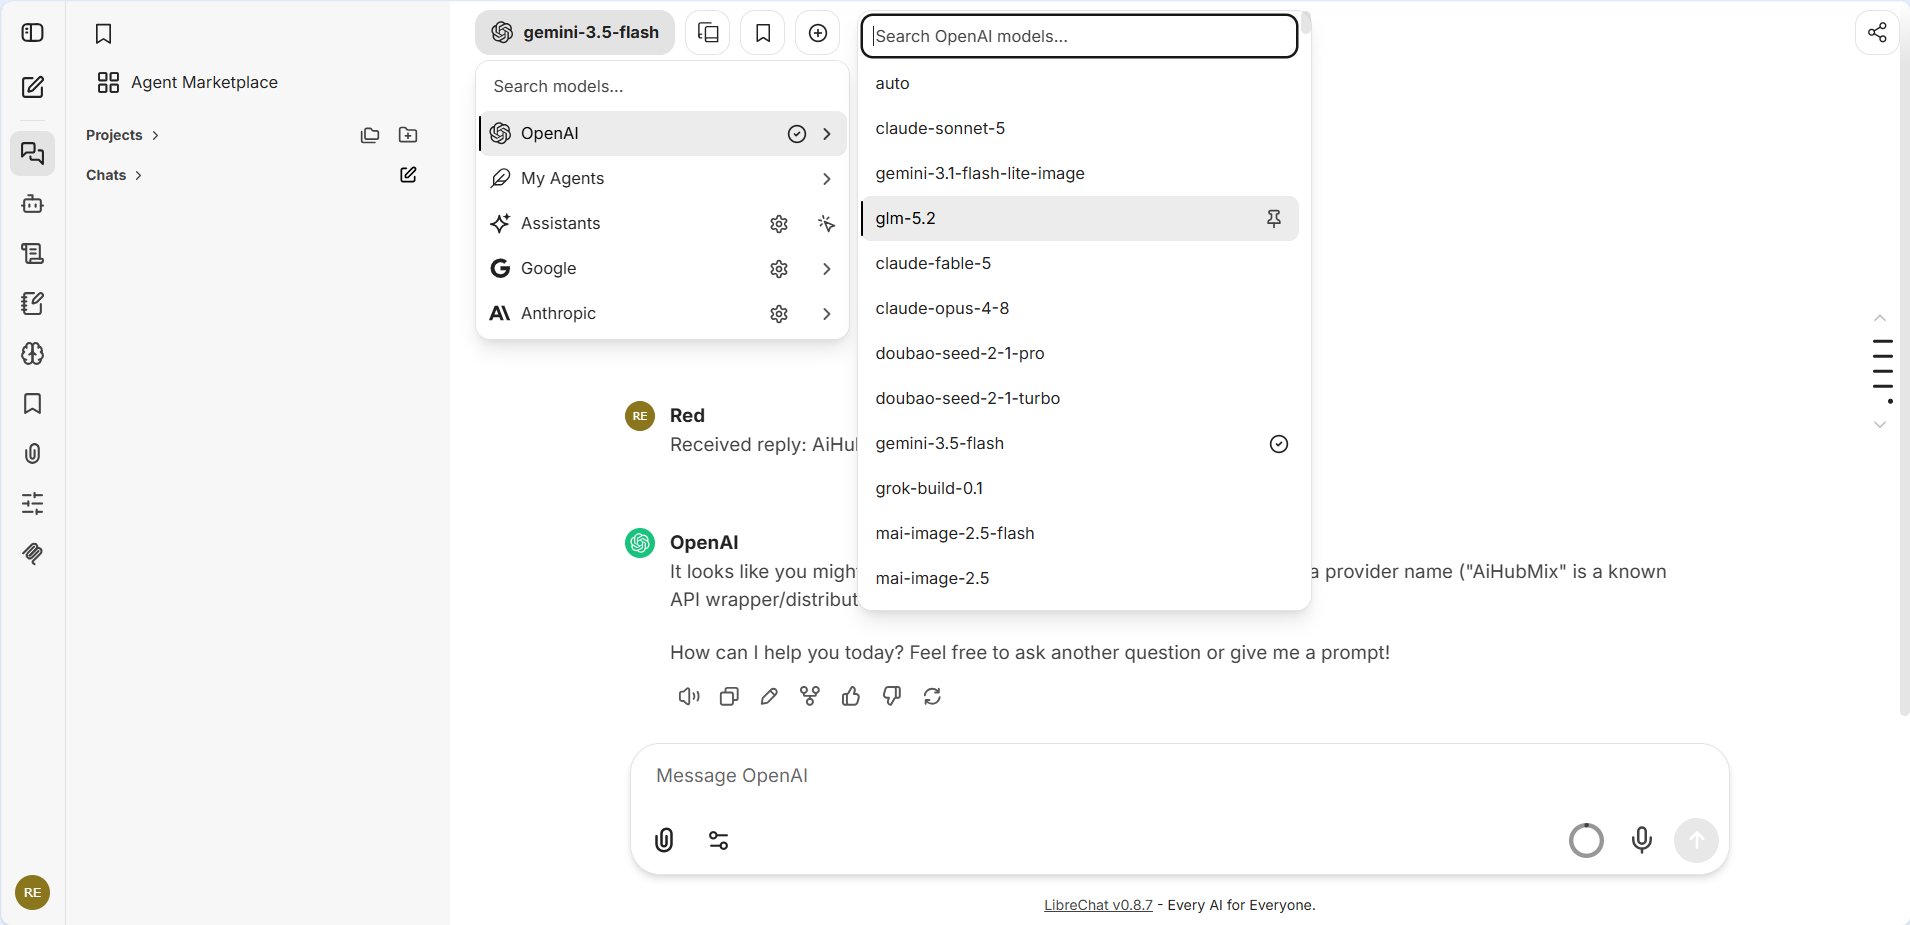
After restarting, choose OpenAI in LibreChat’s endpoint/model selector, then select the AIHubMix model you want to use. WhenOPENAI_MODELS is not set, the list is provided by AIHubMix.
References
- AIHubMix: aihubmix.com
- LibreChat: librechat.ai
- LibreChat local install docs: librechat.ai/docs/local/npm
- LibreChat
.env.example: github.com/danny-avila/LibreChat/blob/main/.env.example
Last updated: 2026-07-03