

Installation
Please ensure Node >= 22 before installation.
openclaw, you can copy the commands in this guide directly.
openclaw cannot be found, replace the leading openclaw command with your local executable path:
your-install-path is a placeholder. Replace it with the parent directory where OpenClaw is installed. For example, if OpenClaw is located at D:\Apps\OpenClaw, use & "D:\Apps\OpenClaw\openclaw.cmd" models status.Terminal Configuration
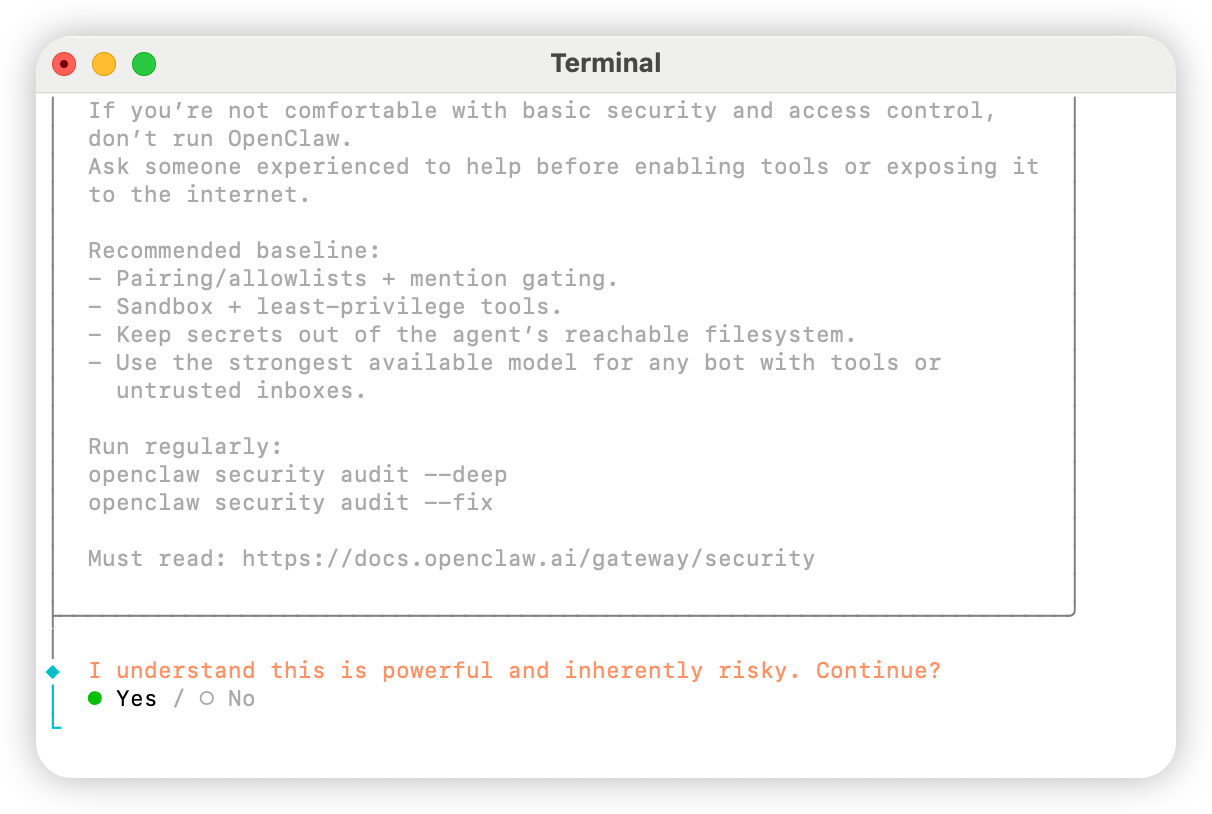
Open the terminal and run the following command to start the configurationYes
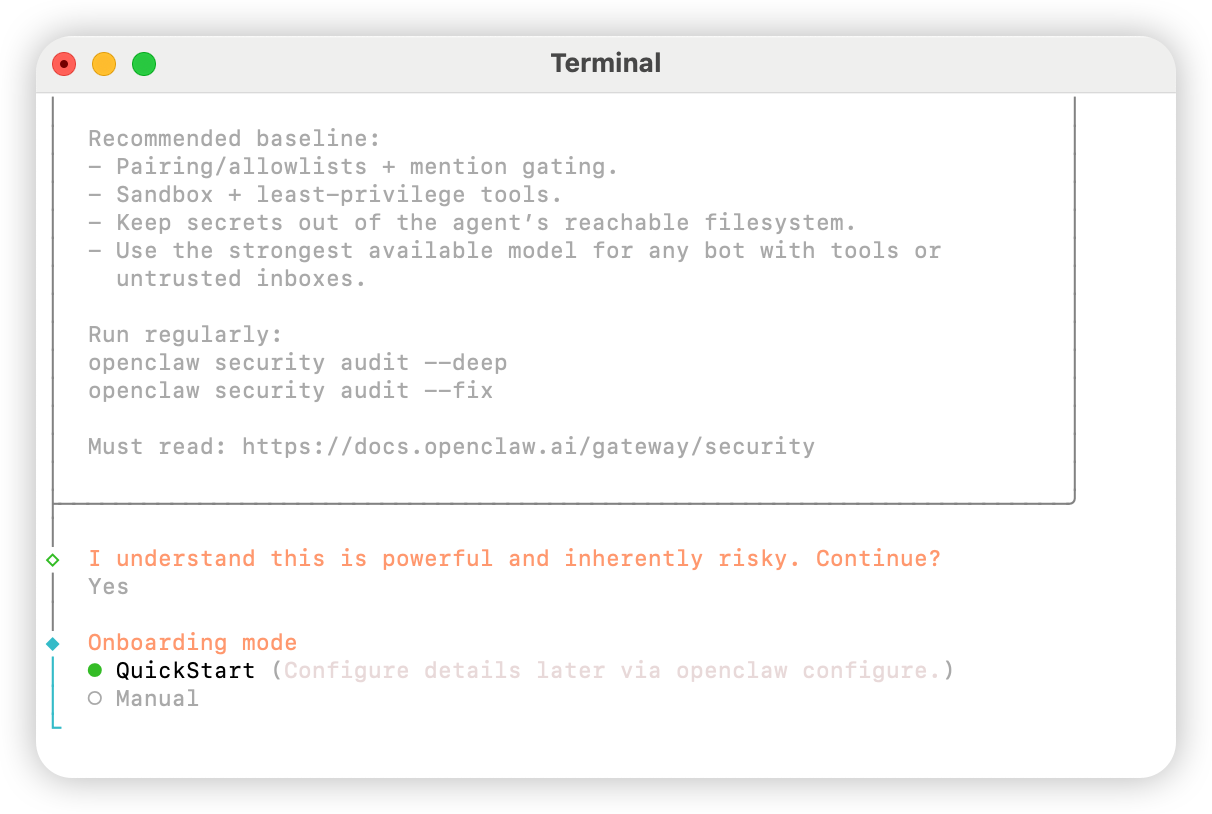
QuickStart
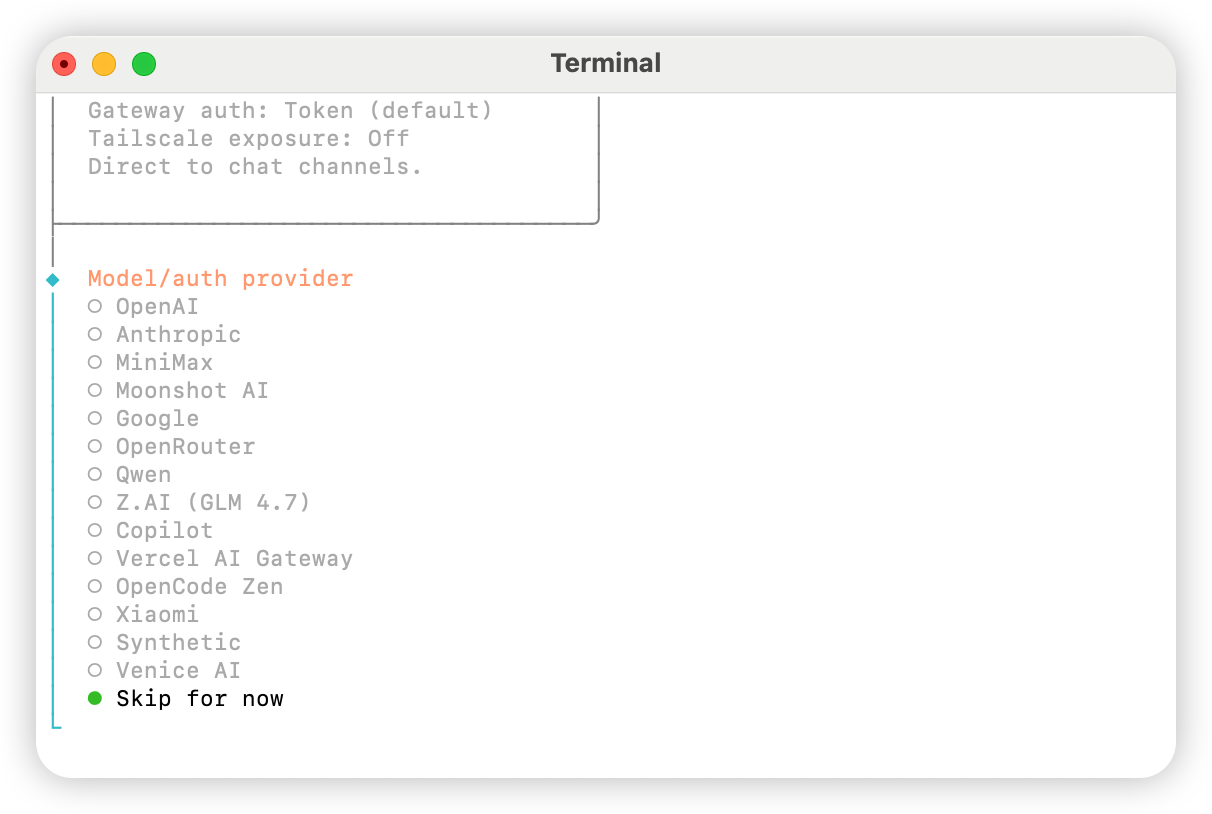
Skip for now
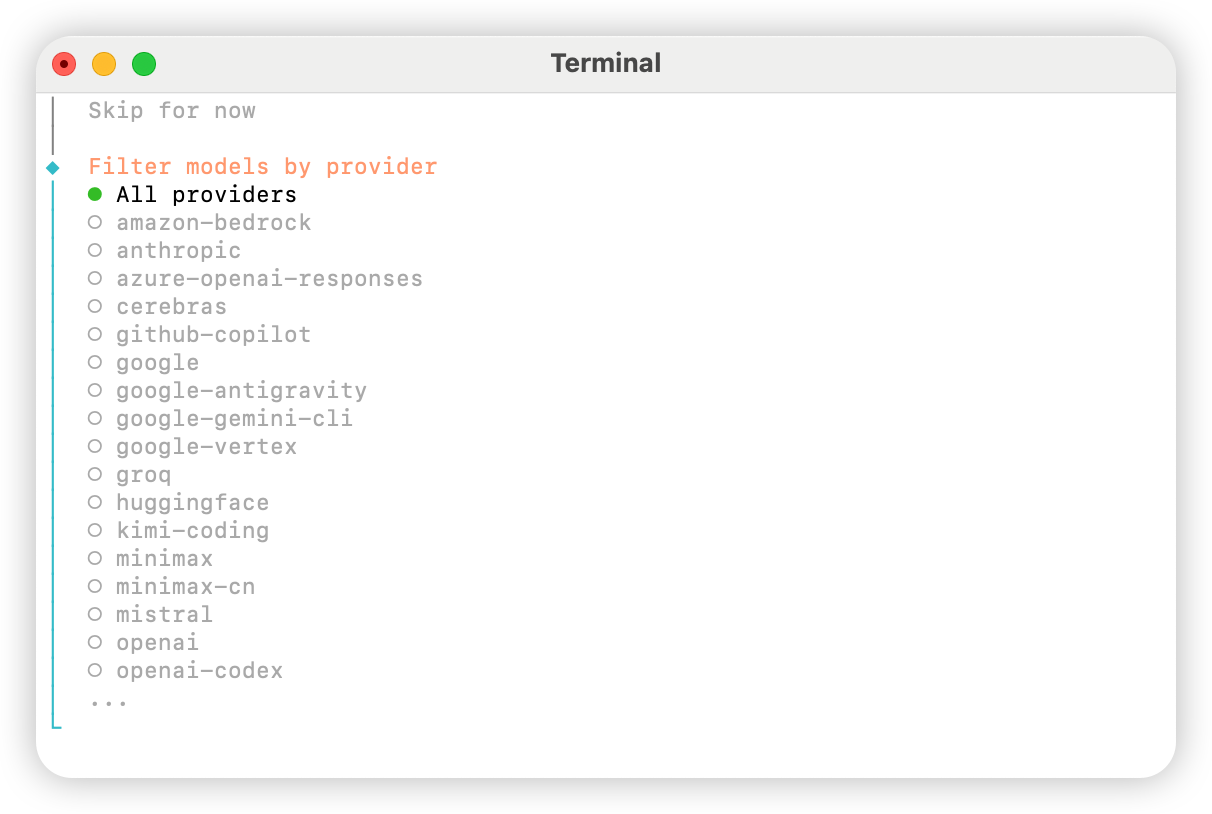
All providers
Keep current (if using “Method 2: Manual Configuration”, it can be modified in the configuration file in the next step).
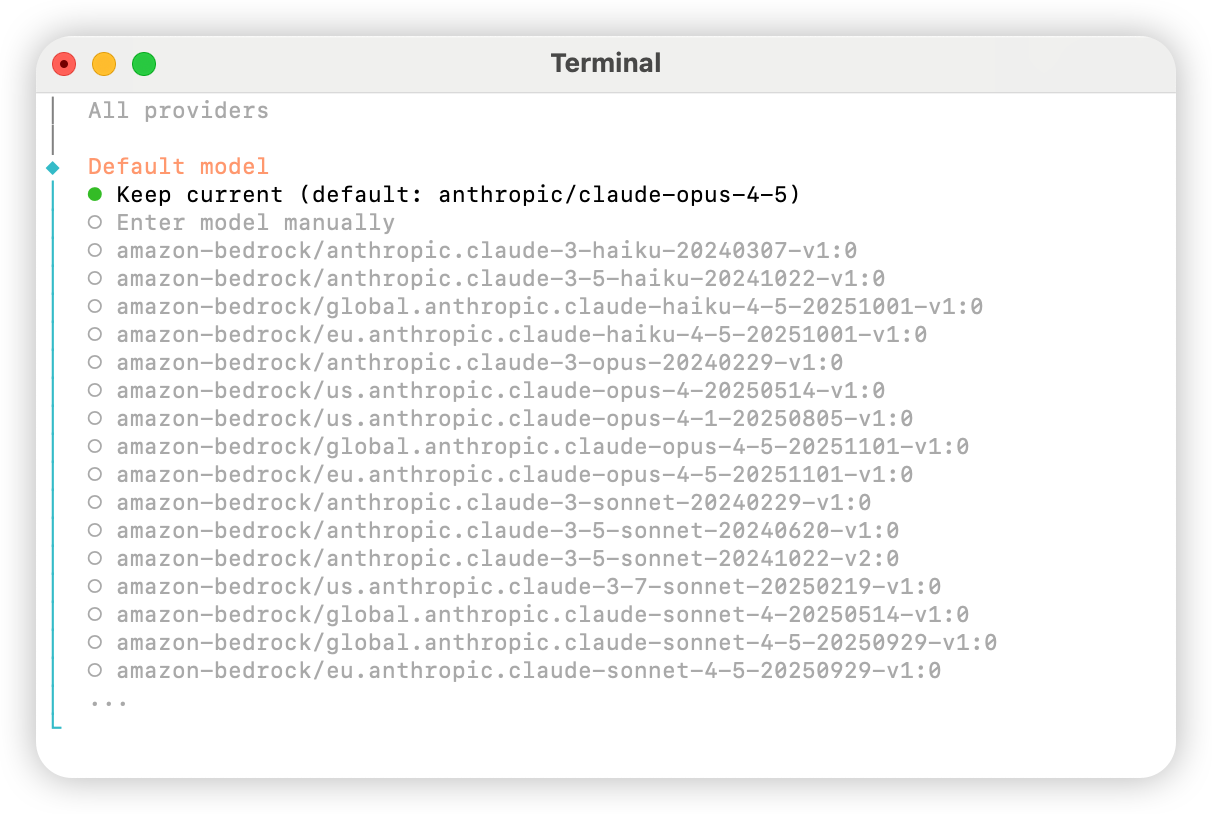
Skip for now.
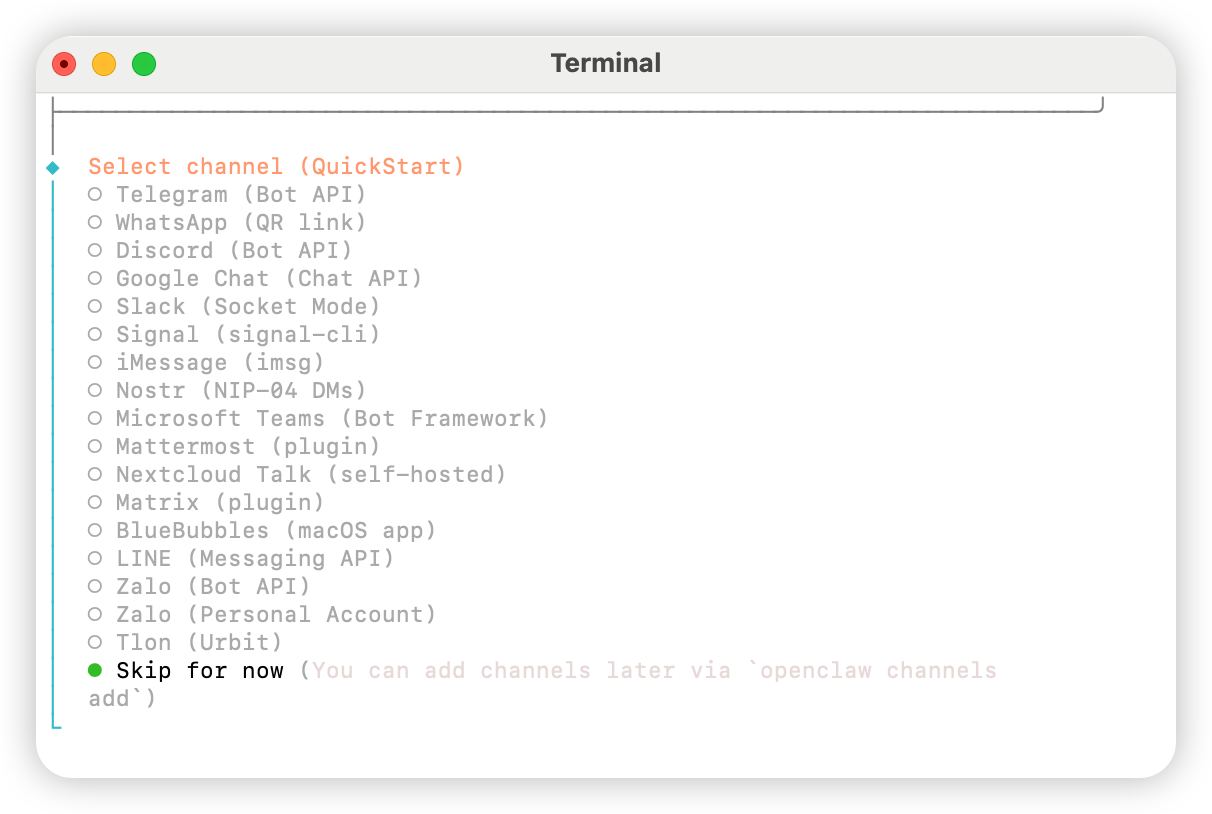
Yes.
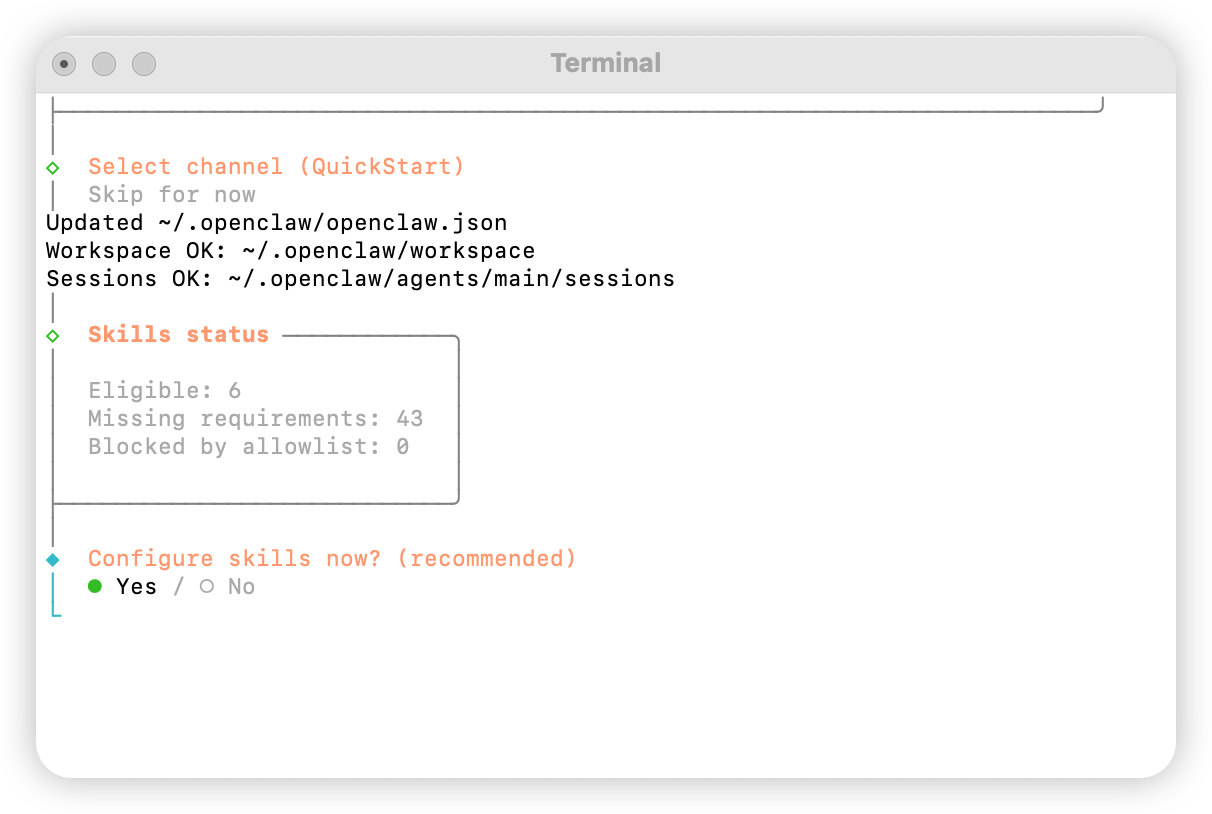
npm
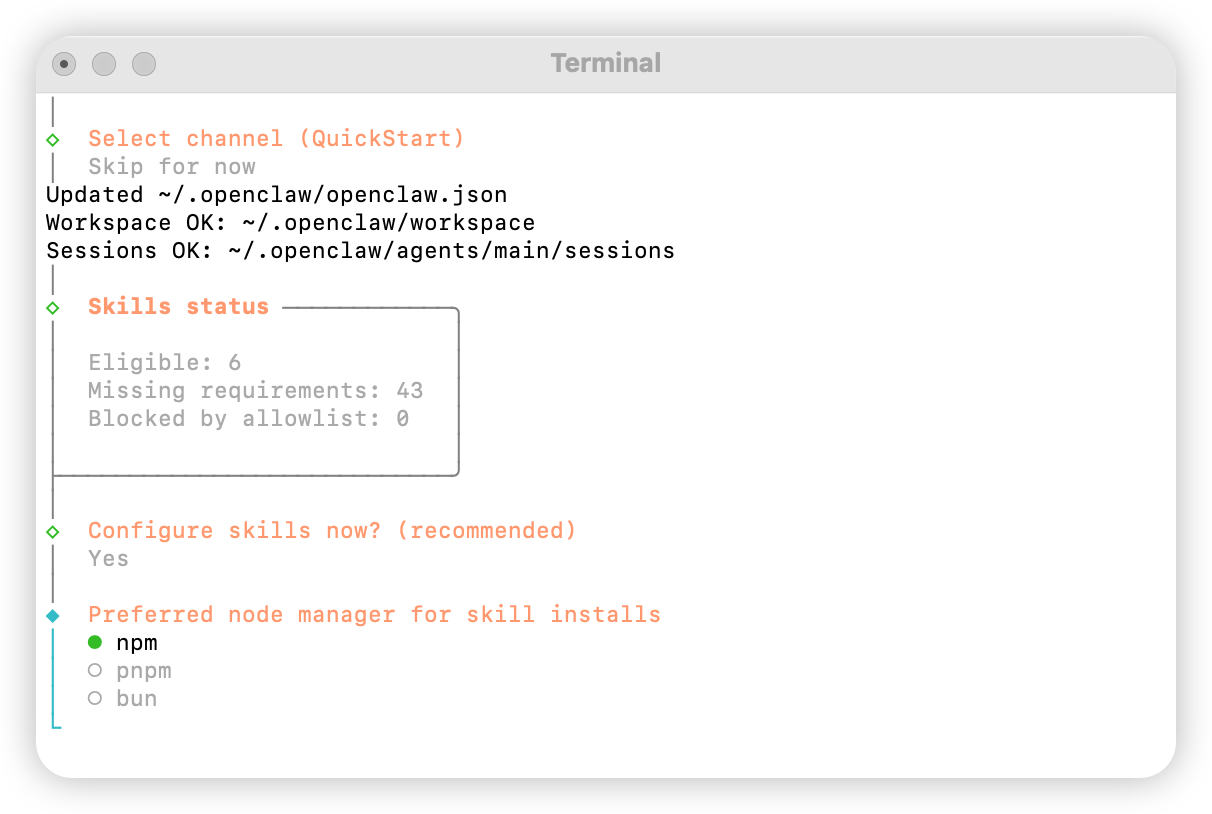
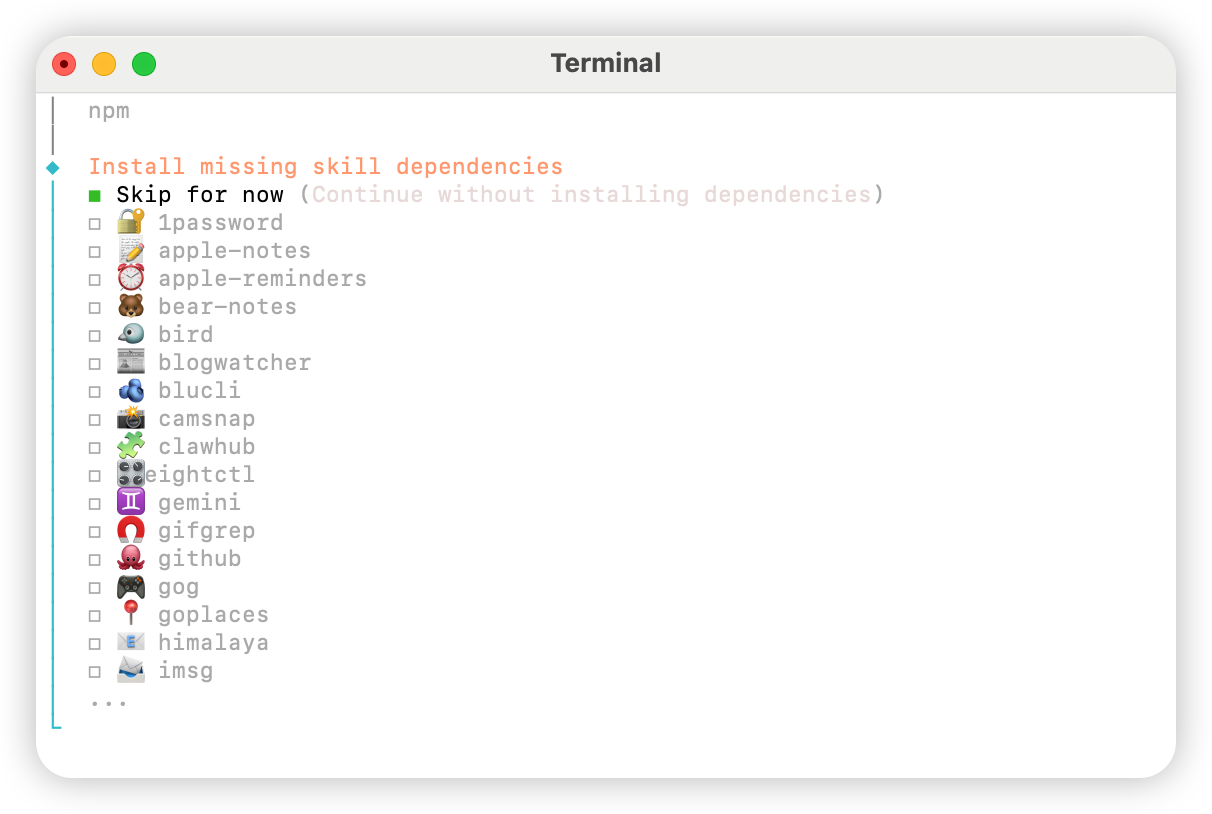
No for all options.
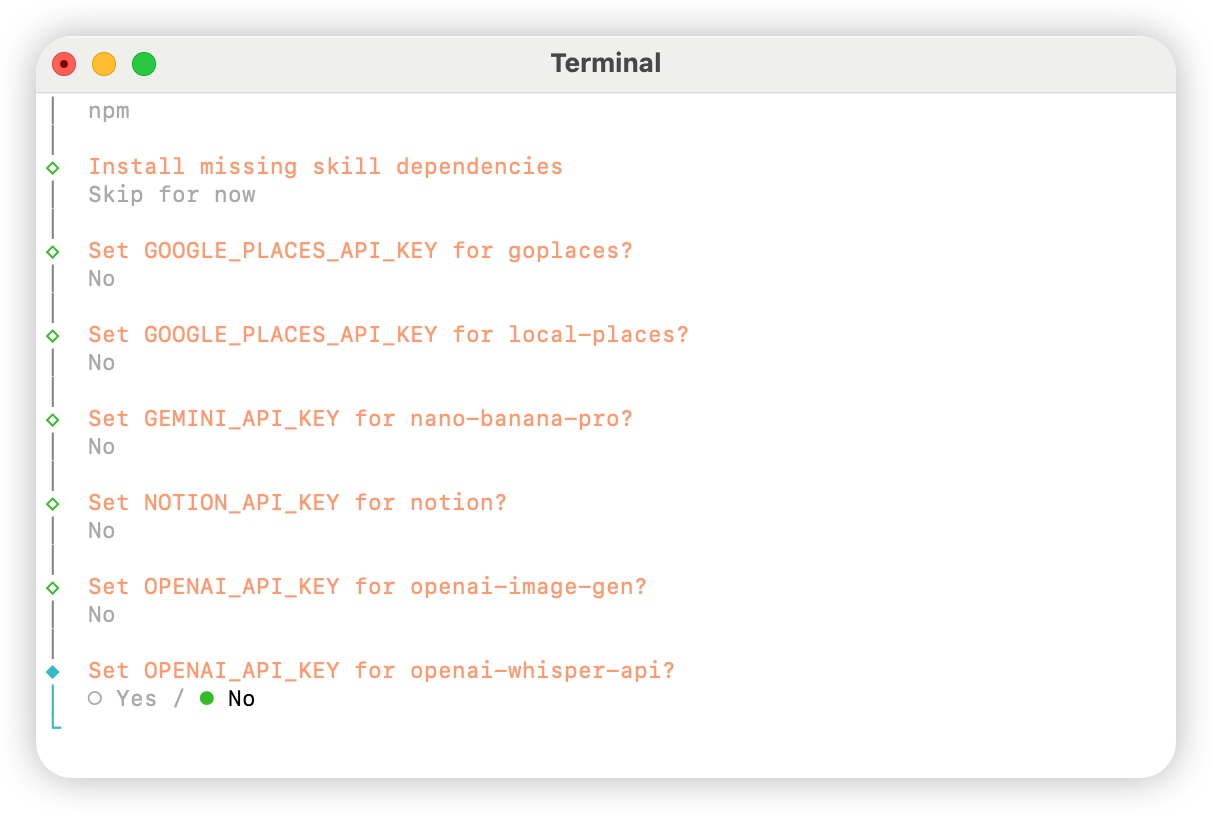
Skip for now.
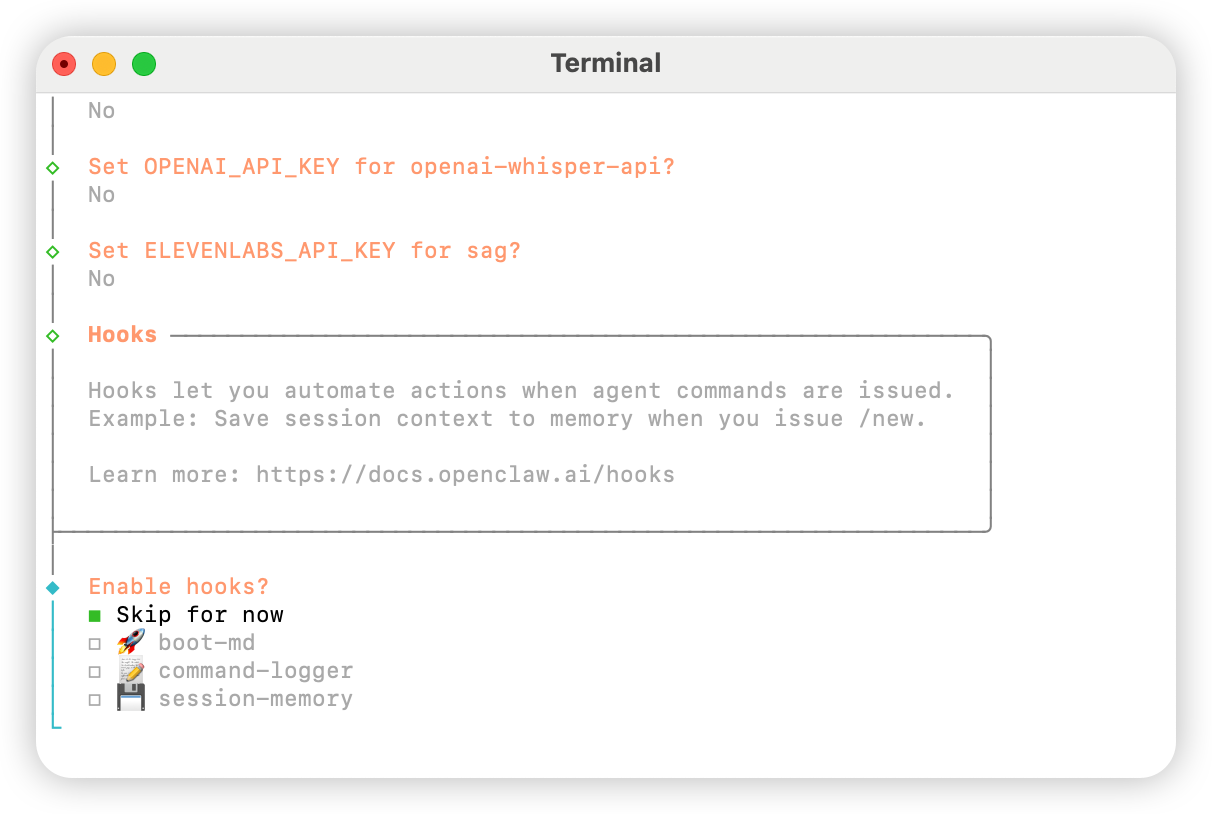
Hatch in UI.
Configure AIHubMix
Method 1: Quick Setup via Plugin (Recommended)
Plugin source code: aihubmix-auth
providerAuthAliases to make the same key valid for all transports:
- aihubmix-openai —
gpt-*/o1-*/o3-*/o4-*,https://aihubmix.com/v1(openai-completions) - aihubmix-anthropic —
claude-*,https://aihubmix.com(anthropic-messages) - aihubmix-google —
gemini-*,https://aihubmix.com/gemini/v1beta(google-generative-ai) - aihubmix-other — other models,
https://aihubmix.com/v1(openai-completions)
claude-sonnet-4-5) are automatically routed to the correct transport by the plugin’s resolveDynamicModel hook — no need to write the full provider/model.
Prefer to skip interactive login? SetOnce configured, jump to the Start section to begin using it.export AIHUBMIX_API_KEY=sk-...before installing — the plugin will write the key as an inlineapiKeyin the provider config (interactive login stores it in the auth-profile instead).
Method 2: Manual Configuration
Open the~/.openclaw/openclaw.json file and add the following configuration:
Method 3: Switch the Default Model with Dynamic Model Commands
The AIHubMix OpenClaw plugin supports dynamic model routing. As long as a model is available in your AIHubMix account, you can call it in theprovider/model-id format. The actual model availability depends on the AIHubMix console and API response.
Common provider rules:
aihubmix-openai: OpenAI-compatible models, such asgpt-*,o1-*,o3-*, ando4-*aihubmix-anthropic: Claude models, such asclaude-*aihubmix-google: Gemini models, such asgemini-*aihubmix-other: other models called through an OpenAI-compatible endpoint, such asglm-5.2
gpt-5.4 as the default OpenClaw model:
openclaw, use the local path form:
aihubmix-other, for example:
Start
Test
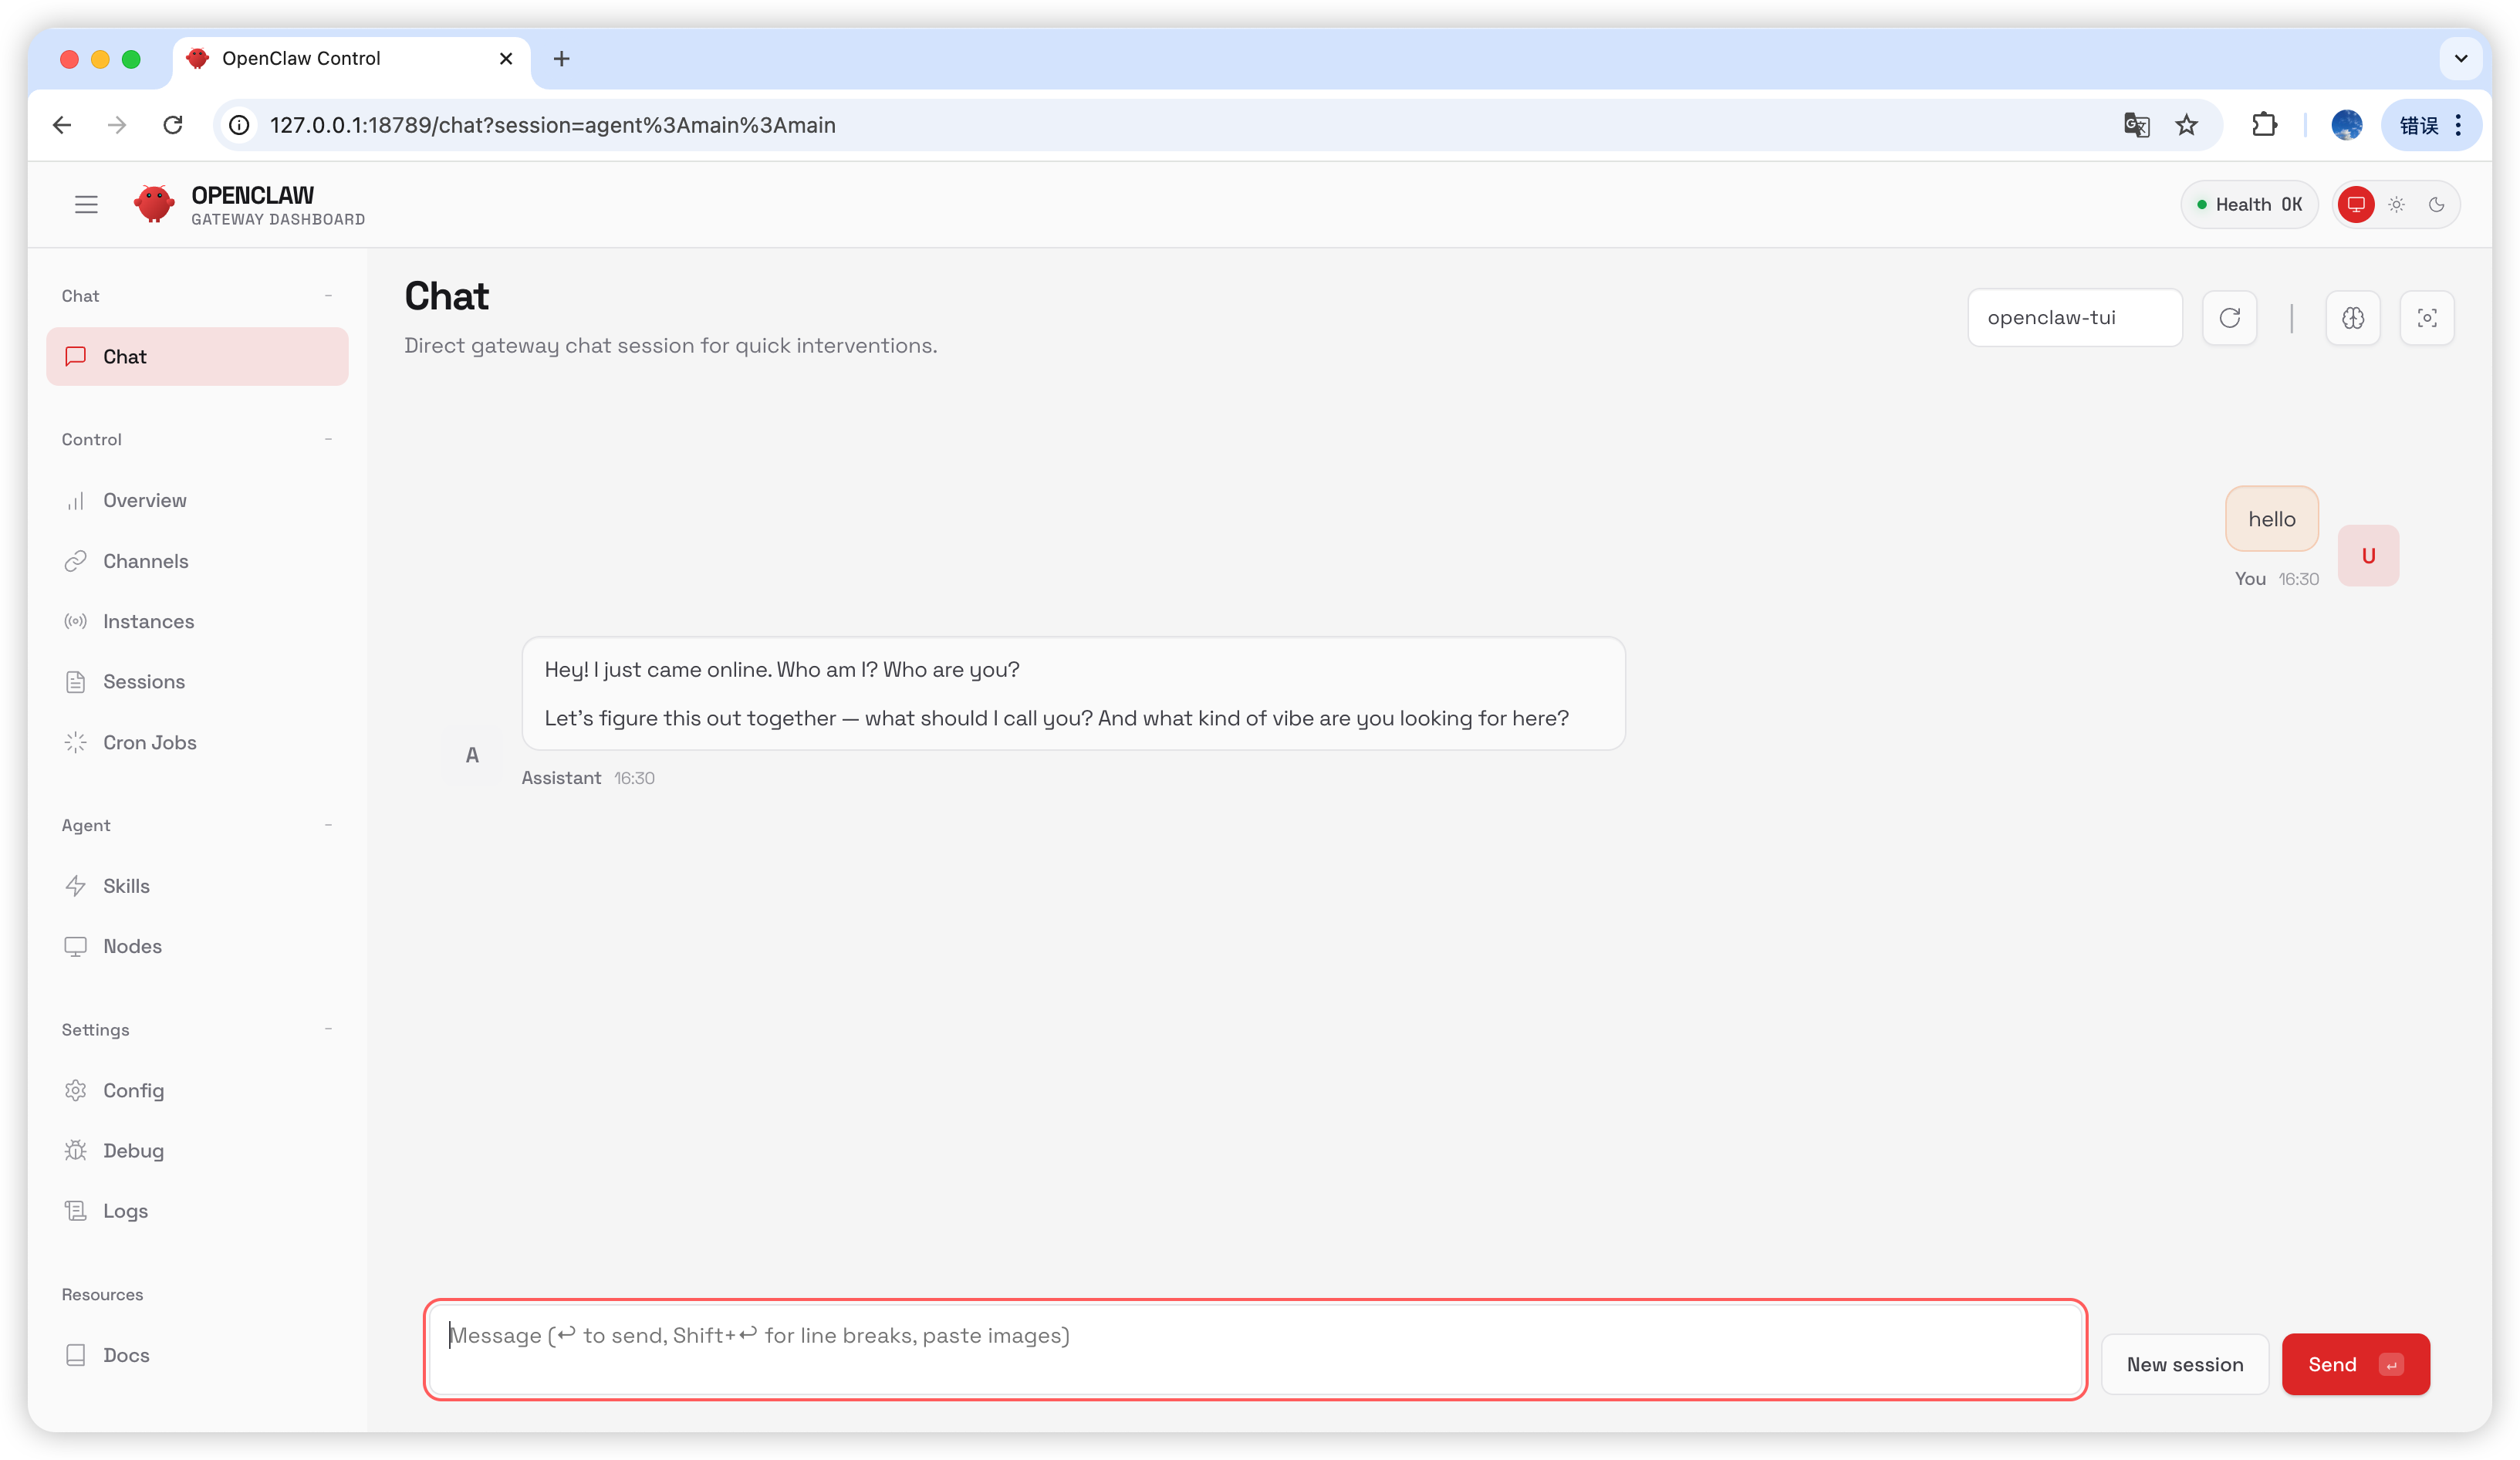
Typehello in the chat page; if you receive a reply, the configuration is successful.
Frequently Asked Questions
Version Upgrade
Gateway Process Occupied
Last updated: 2026-07-03