Quick Start
This guide will help you get started with Claude Code provided by AIHubMix in just a few minutes.1. Install Claude Code
Local Installation
Install via npm
You need Node.js version 18 or higher.2. Configure AIHubMix API
To access AIHubMix’s model services via the compatible Anthropic API, you need to configure the following environment variables.- Set
ANTHROPIC_BASE_URLtohttps://aihubmix.com - Set
ANTHROPIC_AUTH_TOKENto the API Key obtained from the AIHubMix platform - Set
ANTHROPIC_MODELto a supported Claude model from the model list, such asclaude-sonnet-4-5.
- macOS
- Windows
- Run the following command in the terminal to check your default Shell type.
- Set the environment variables according to your Shell type using the following commands:
- Run the following command in the terminal to make the environment variables effective.
- Open a new terminal and run the following commands to check if the environment variables are effective.
If you plan to manage Claude Code through CC Switch, avoid setting global
ANTHROPIC_AUTH_TOKEN, ANTHROPIC_BASE_URL, or ANTHROPIC_MODEL separately. System or user environment variables may override the Provider configuration written by CC Switch, so Claude Code may still use an old key or model even when the correct Provider is selected in the UI.3. Verify the Configuration
After configuring environment variables or CC Switch, run a minimal request first to confirm that the key, model, and Anthropic-compatible endpoint are available before starting a long session.200 and the content is 2, your AIHubMix key and Claude model are available. Then run:
2, Claude Code is configured successfully end to end.
4. Get Started
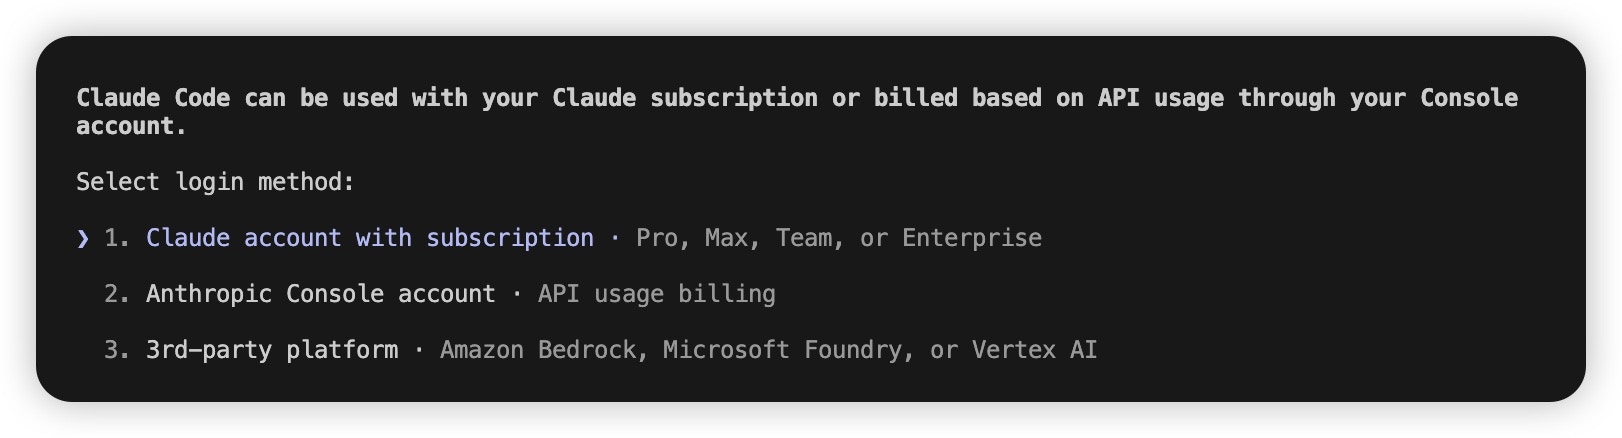
Once the configuration is complete, navigate to your working directory and run theclaude command in the terminal to start using Claude Code.
Not logged in · Please run /login, or opens Anthropic login options, Claude Code usually has not read a usable AIHubMix configuration, or the first-run onboarding is not complete. First confirm that the minimal request above returns 2, and check whether ANTHROPIC_AUTH_TOKEN, ANTHROPIC_BASE_URL, or ANTHROPIC_MODEL is being overridden by old global environment variables. After confirming the key is usable, if Claude Code still enters the login flow, follow these steps to skip first-run onboarding:
- Locate the
.claude.jsonfile in your user home directory, with the following paths:- macOS / Linux:
~/.claude.json - Windows:
C:\Users\%USERNAME%\.claude.json
- macOS / Linux:
- Set the
hasCompletedOnboardingfield’s value totrue.
- Save the file, then rerun
claudein the terminal.
(Optional) Additional Model Configuration Methods
Claude Code supports the following model configuration methods, ranked in order of priority from highest to lowest, where higher-priority configurations will override lower-priority ones.- During a conversation: Execute the
/model <model_name>command to switch models. This is suitable for temporary model changes.
- When starting Claude Code: Execute
claude --model <model_name>to specify the model. This is suitable for single-session use.
- Set environment variables: You can configure different levels of models based on the complexity of the task. Claude Code will automatically select the appropriate model based on the task type. This is suitable for global effects.
ANTHROPIC_DEFAULT_OPUS_MODEL: For complex reasoning, architectural design, and other high-difficulty tasks.ANTHROPIC_DEFAULT_SONNET_MODEL: For coding, feature implementation, and other routine tasks.ANTHROPIC_DEFAULT_HAIKU_MODEL: For grammar checks, file searches, and other simple tasks.
- Permanently set in the settings.json configuration file: Write the model configuration in the Claude Code user settings file, such as
~/.claude/settings.jsonon macOS/Linux orC:\Users\%USERNAME%\.claude\settings.jsonon Windows, or in a project-level configuration.
Fallback configuration: If
/model, startup arguments, environment variables, or CC Switch do not take effect, or Claude Code still reads an old model, edit settings.json directly. The example below sets both ANTHROPIC_MODEL and the top-level model, while keeping model names for the Opus, Sonnet, and Haiku slots.<AIHUBMIX_API_KEY> with your real key. After saving, restart Claude Code and enter /models to check the models available for the current session.
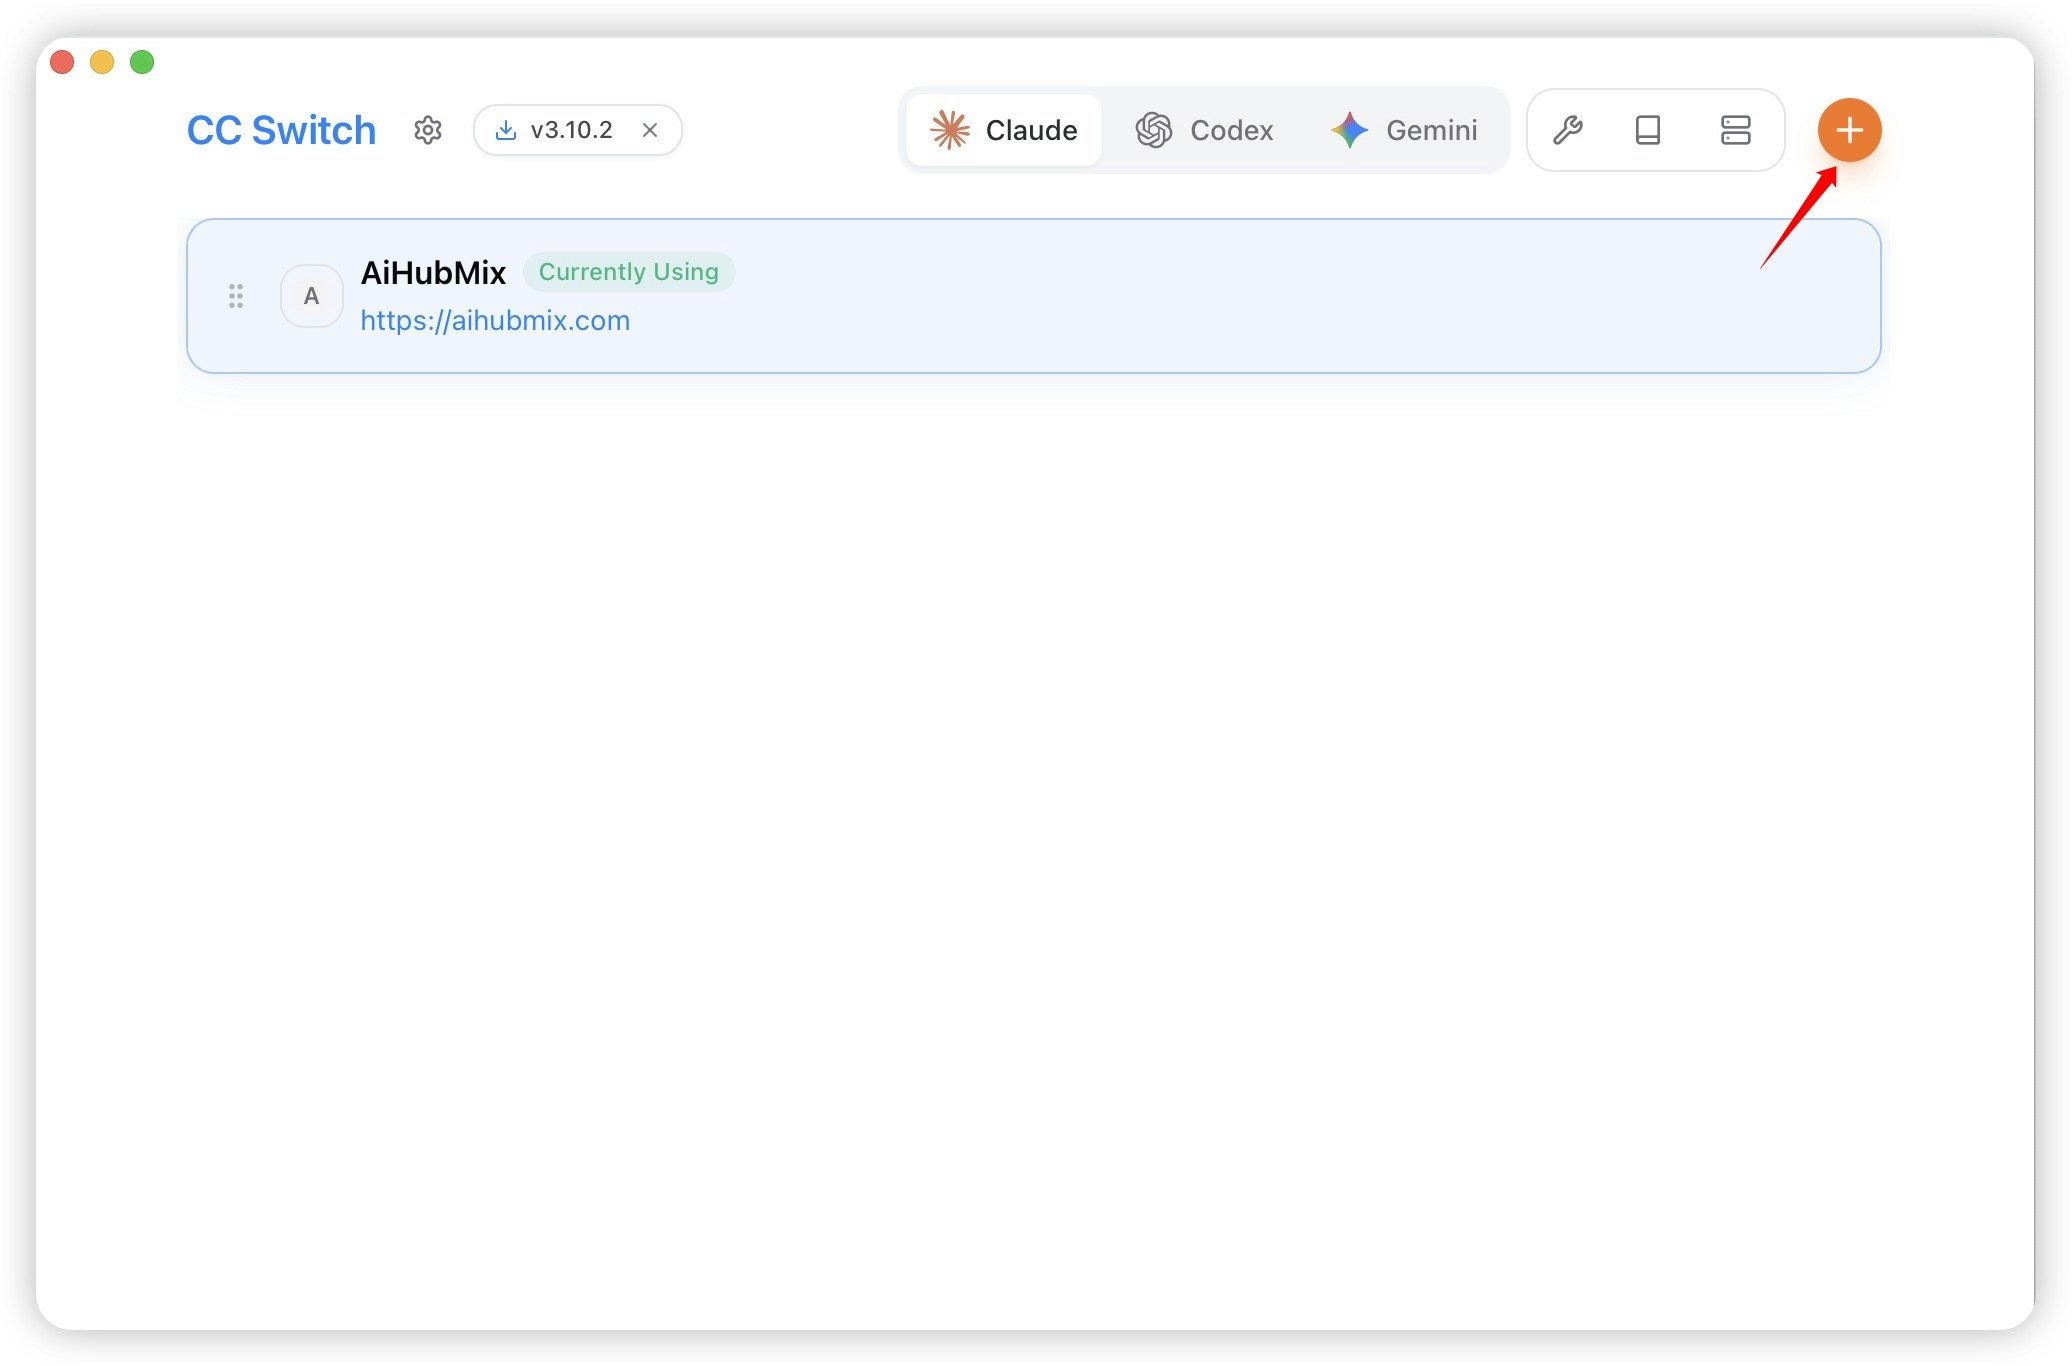
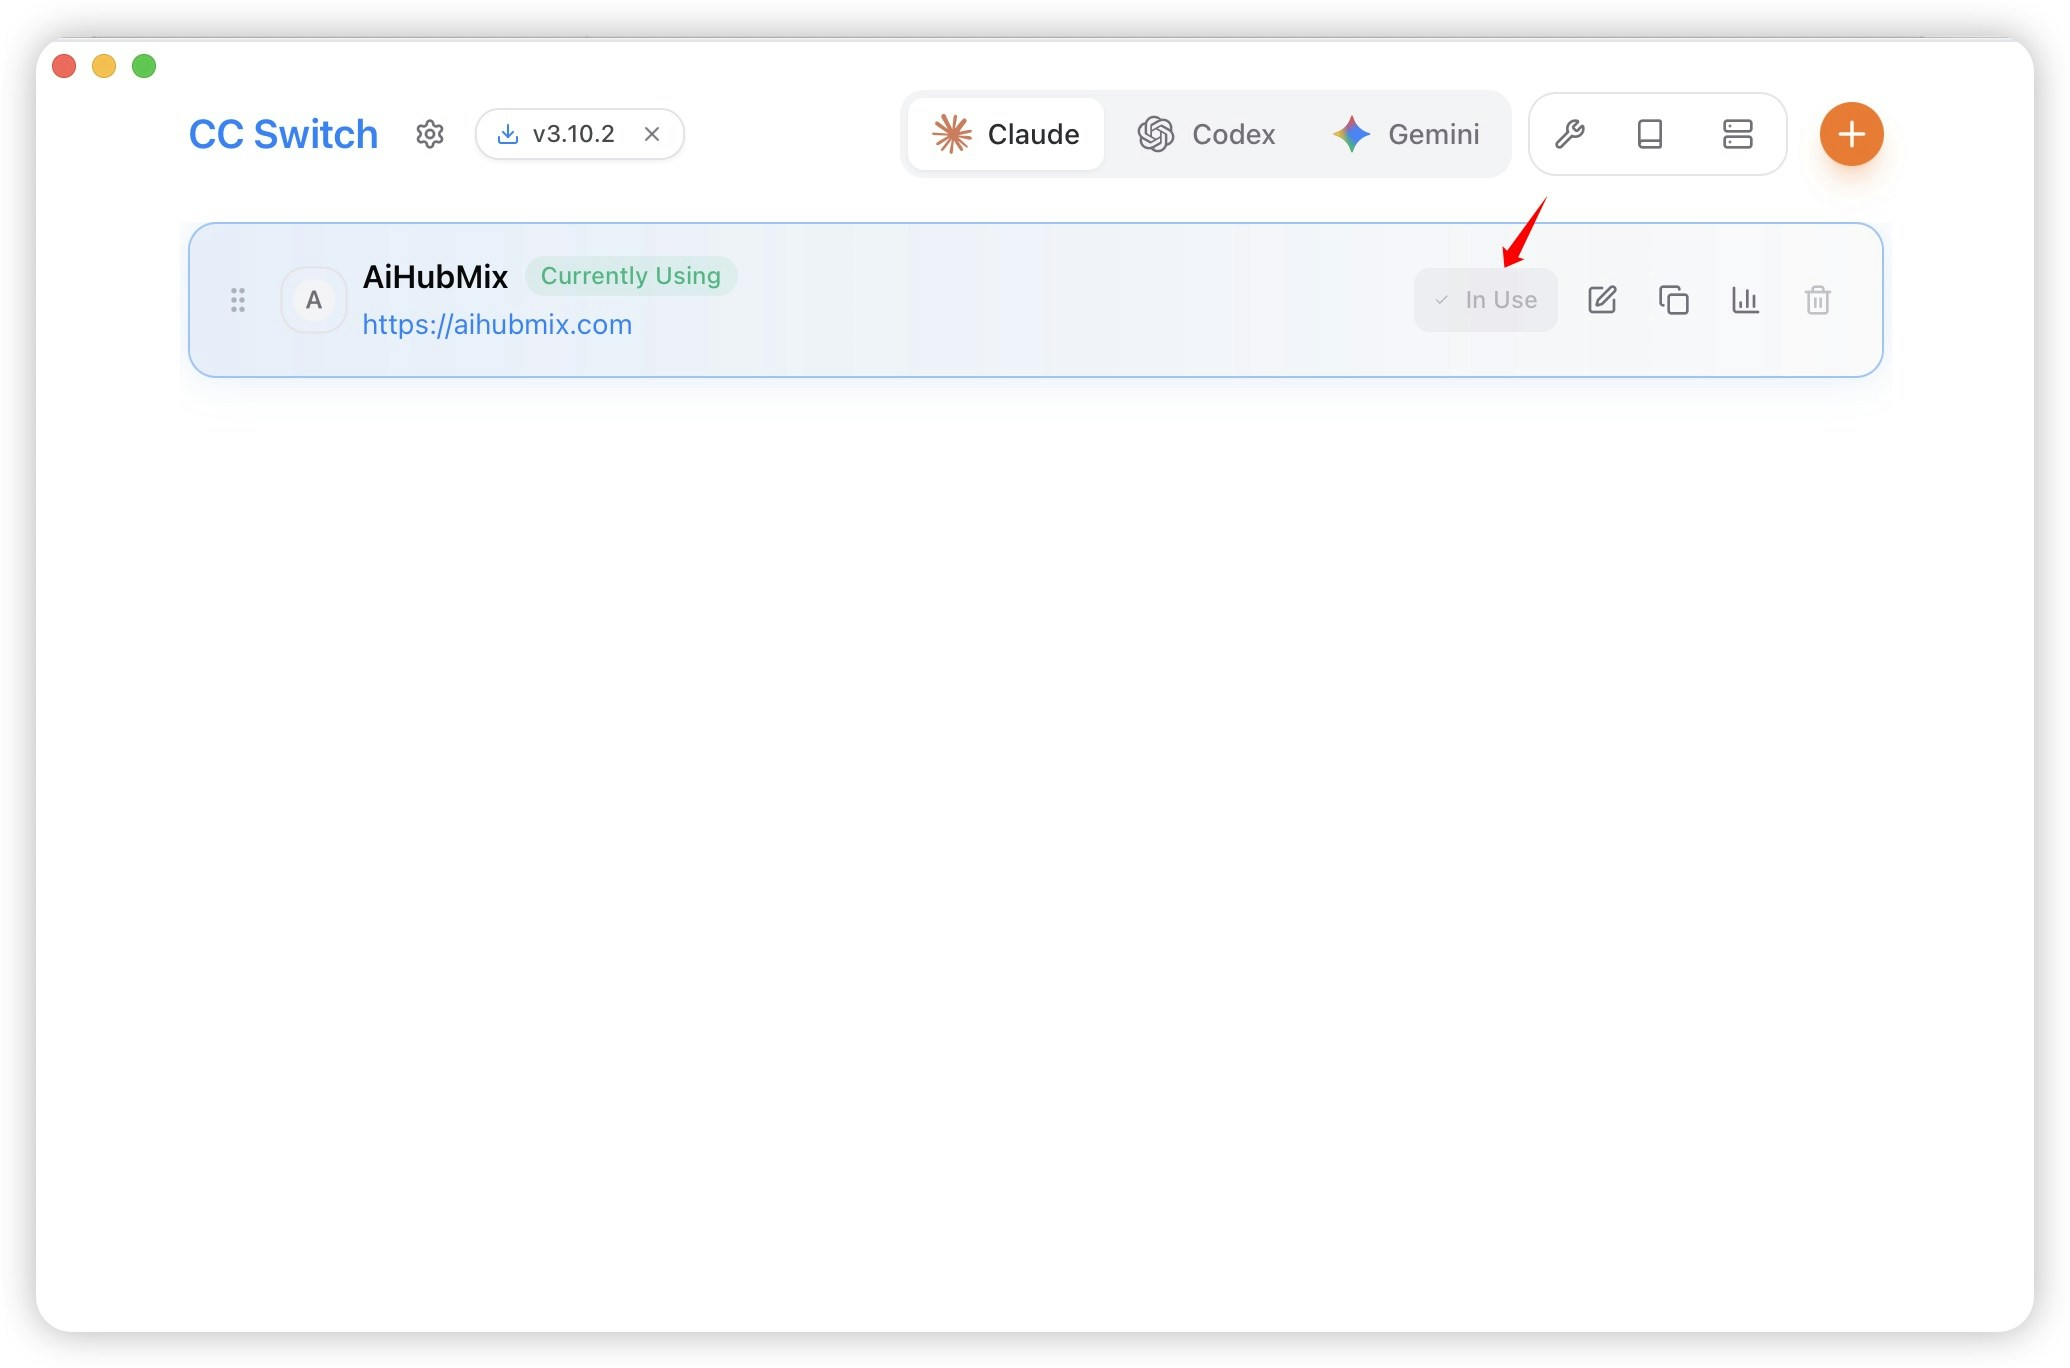
How to Configure via CC Switch?
- Run CC Switch, select Claude Code on the left, then click “Add Vendor.”
- Select “AiHubMix” from the preset list. Make sure you are configuring the Provider for Claude Code.

- Enter your real key in the “API Key” field.

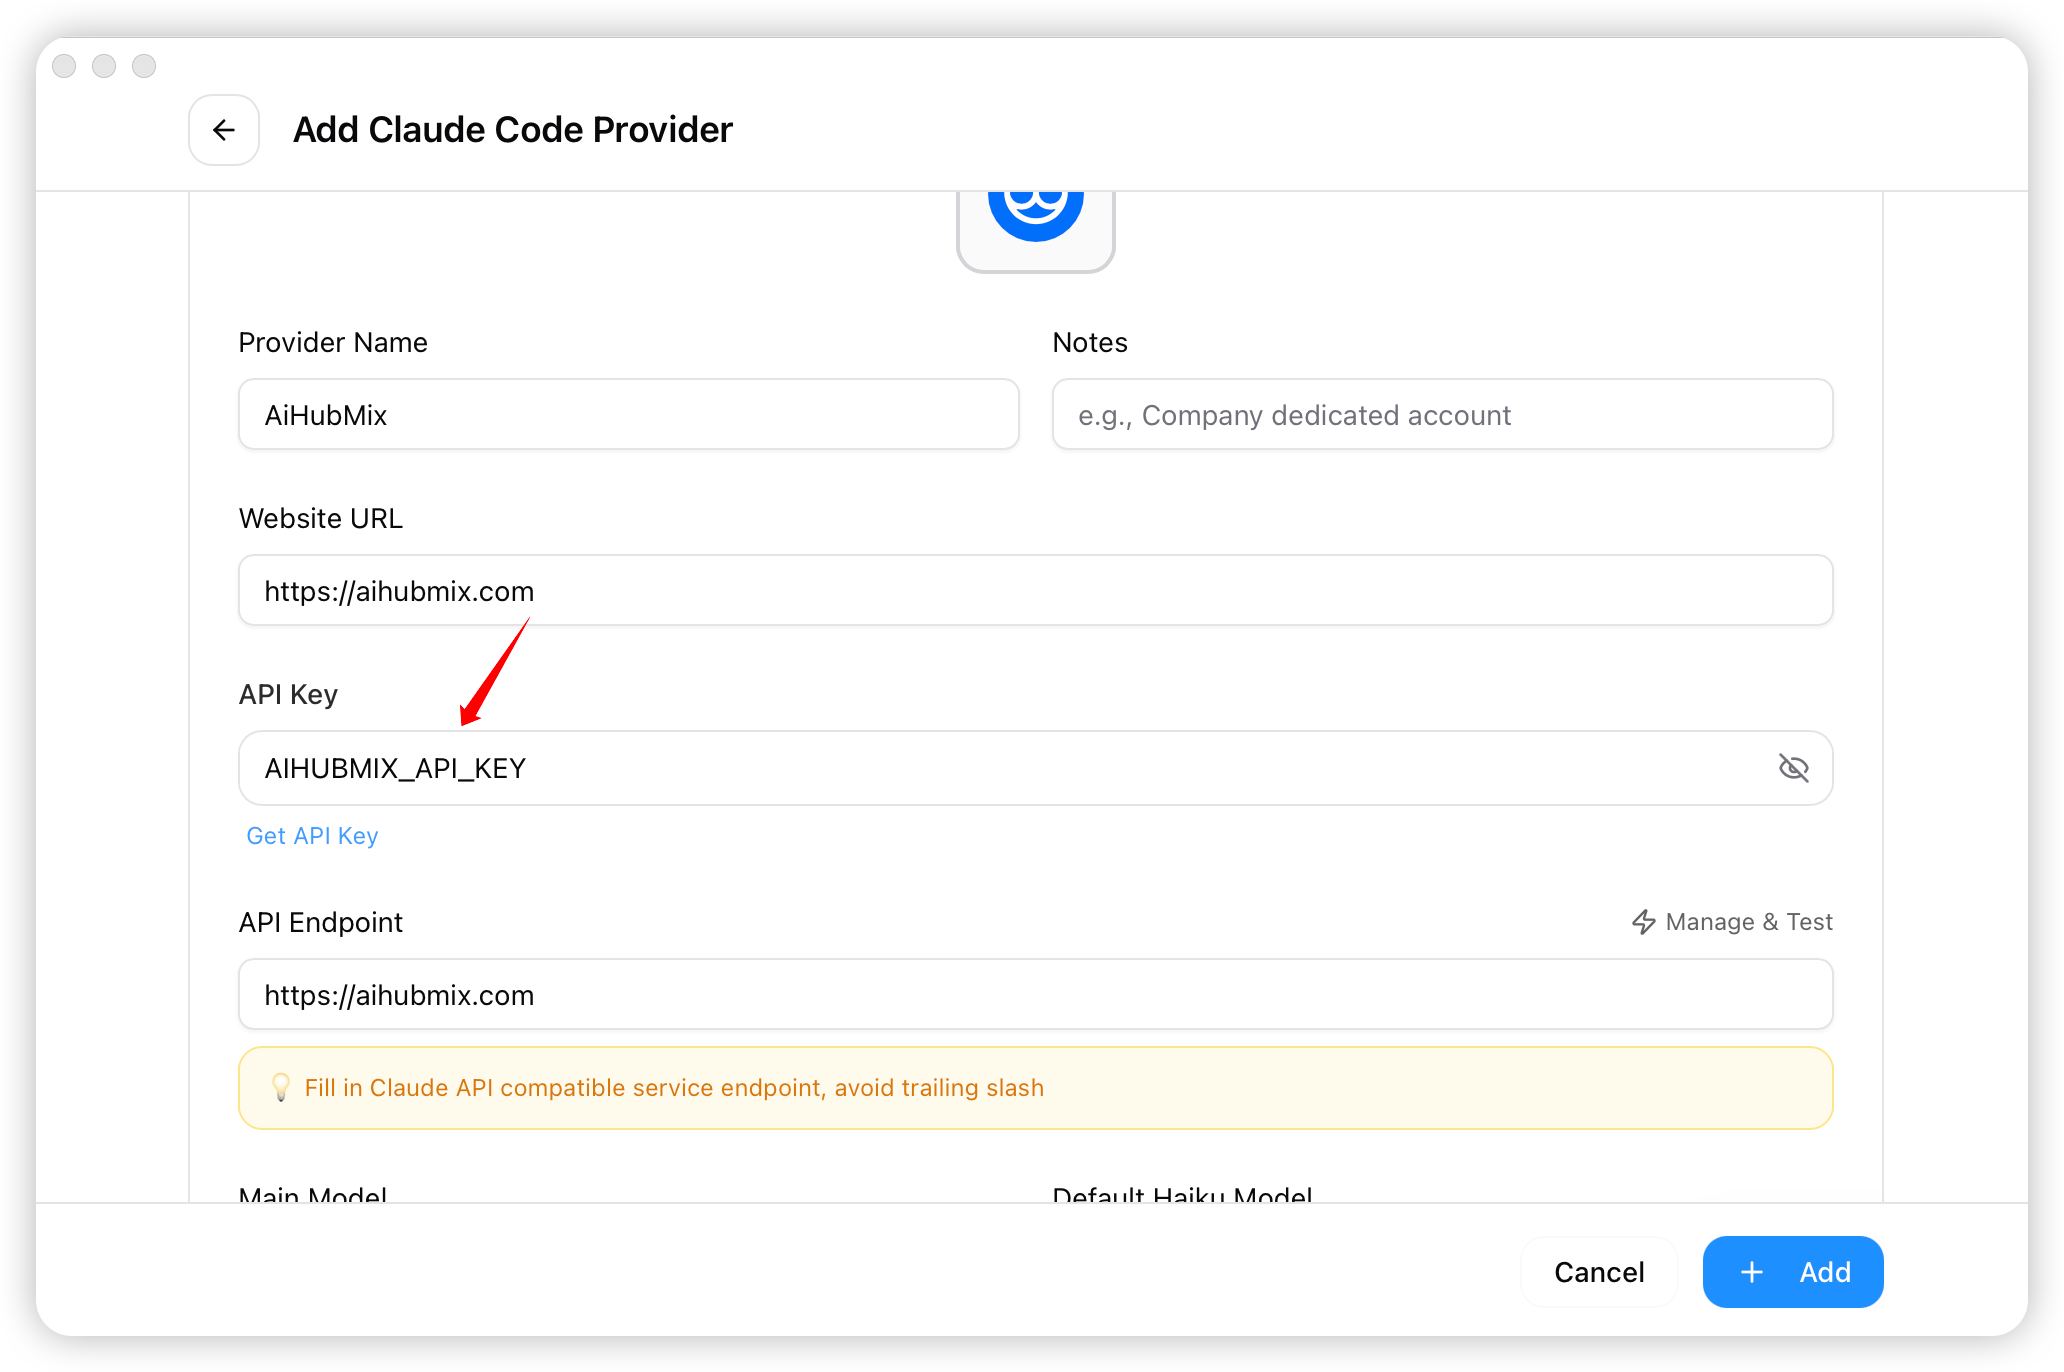
- After configuration is complete, first use
claude-sonnet-4-5as the model ID, then click “Add” to save the settings. After the health check passes, you can switch to other Claude models in Claude Code with/modelsor/model.

- Return to the homepage, select “AiHubMix” from the vendor list, and click “Start” to use it.
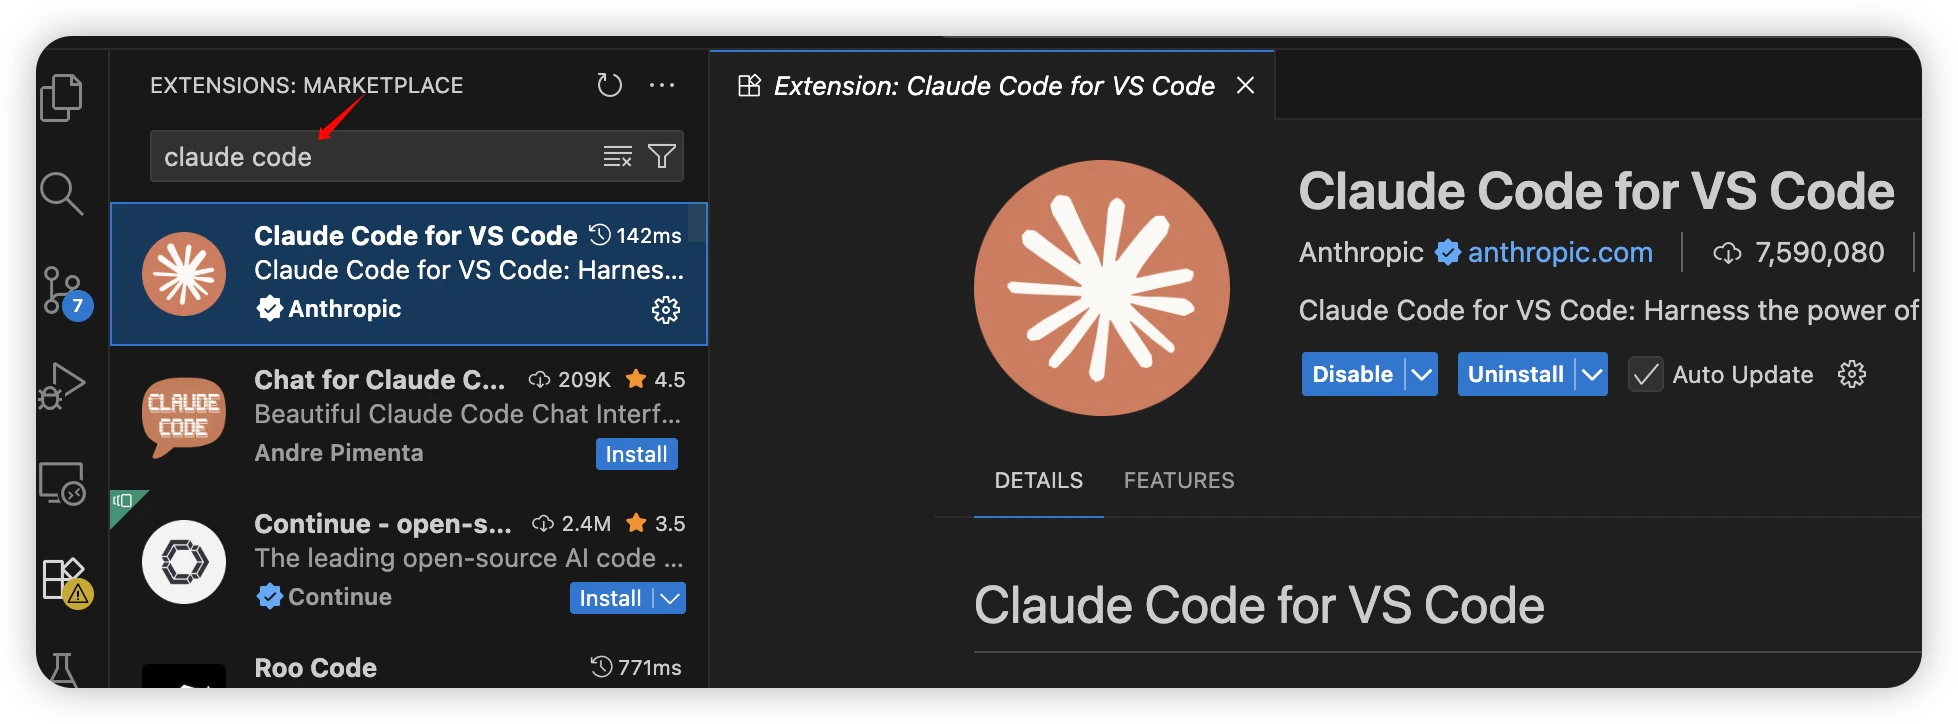
How to Configure through the VS Code Plugin?
- Run VS Code and install the plugin.
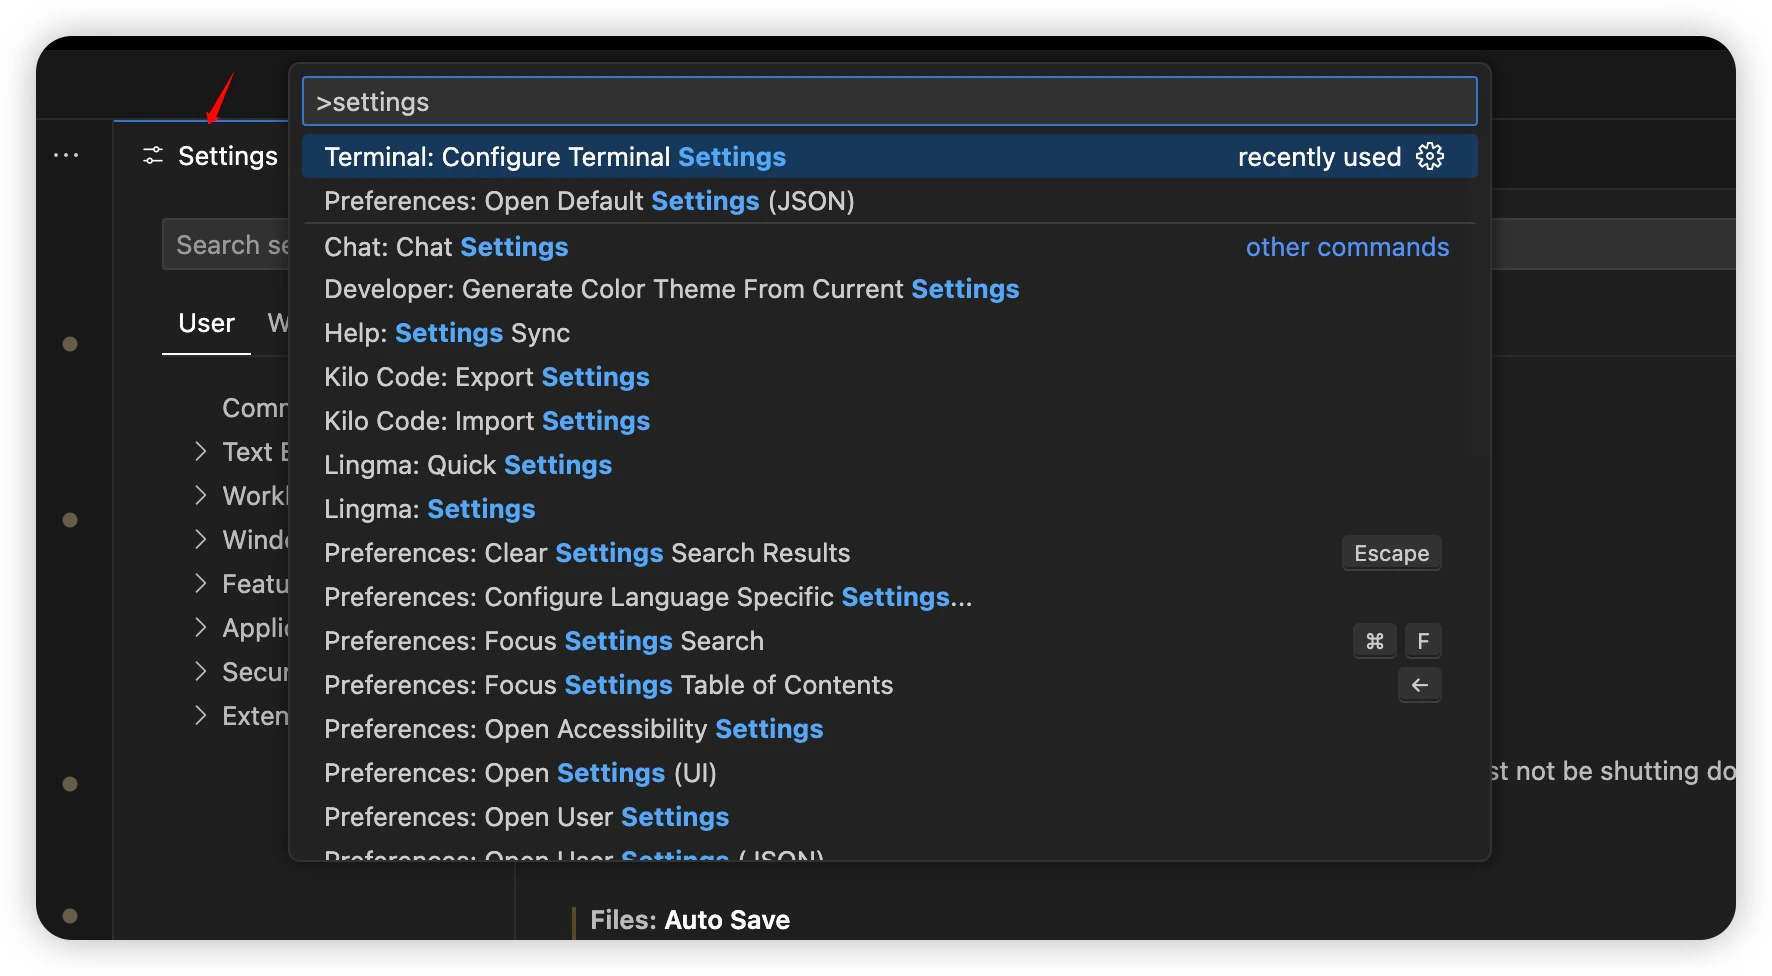
- Press
Ctrl + Shift + P(orCmd + Shift + P), typeSettingsto open the settings.
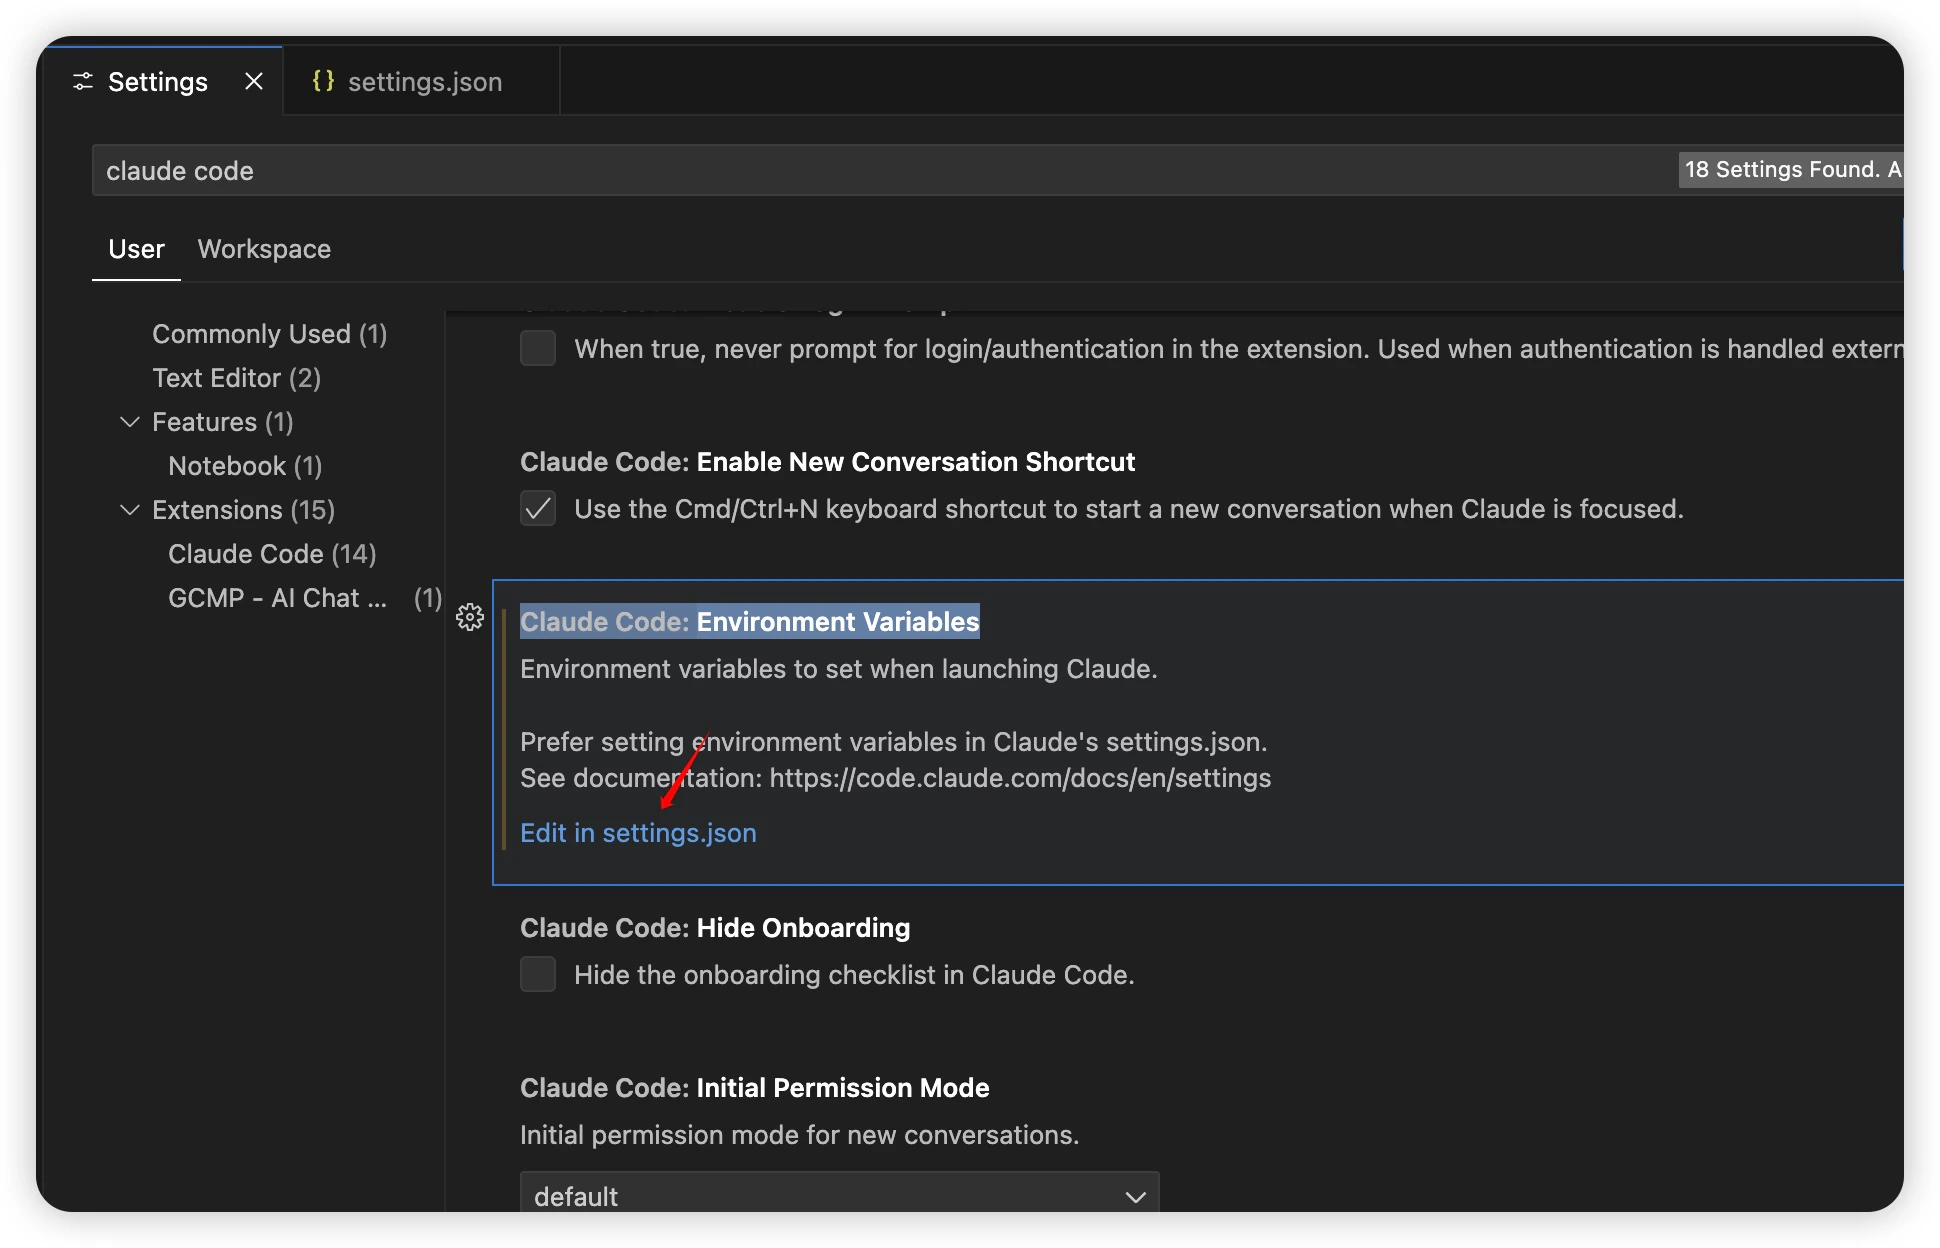
- Search for
Claude Code, findClaude Code: Environment Variable→Edit in settings.json.
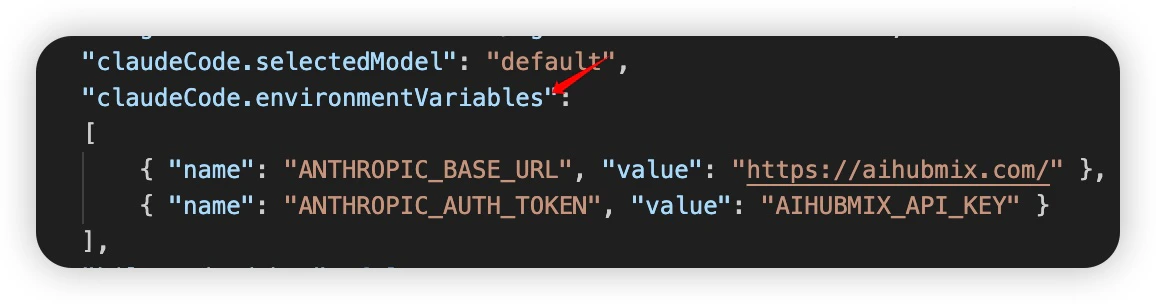
- Fill in the AIHubMix-related information in
claudeCode.environmentVariables.
Wechat-Agent-SDK
With simple API calls, easily integrate mainstream AI entities like Claude Code, Codex, and Kimi into WeChat with one click. It supports the ACP protocol, runs entirely locally without the need for a server or database, and includes enterprise-level features such as built-in breakpoint resume and automatic reconnection, enabling your AI assistant to engage in intelligent conversations seamlessly within WeChat.Installation link: https://github.com/AIhubmix/wechat-agent-sdk
FAQ
Q: What should I do if I get a 401 authentication error?
401 means the request did not pass authentication, but the exact cause depends on the full error message:
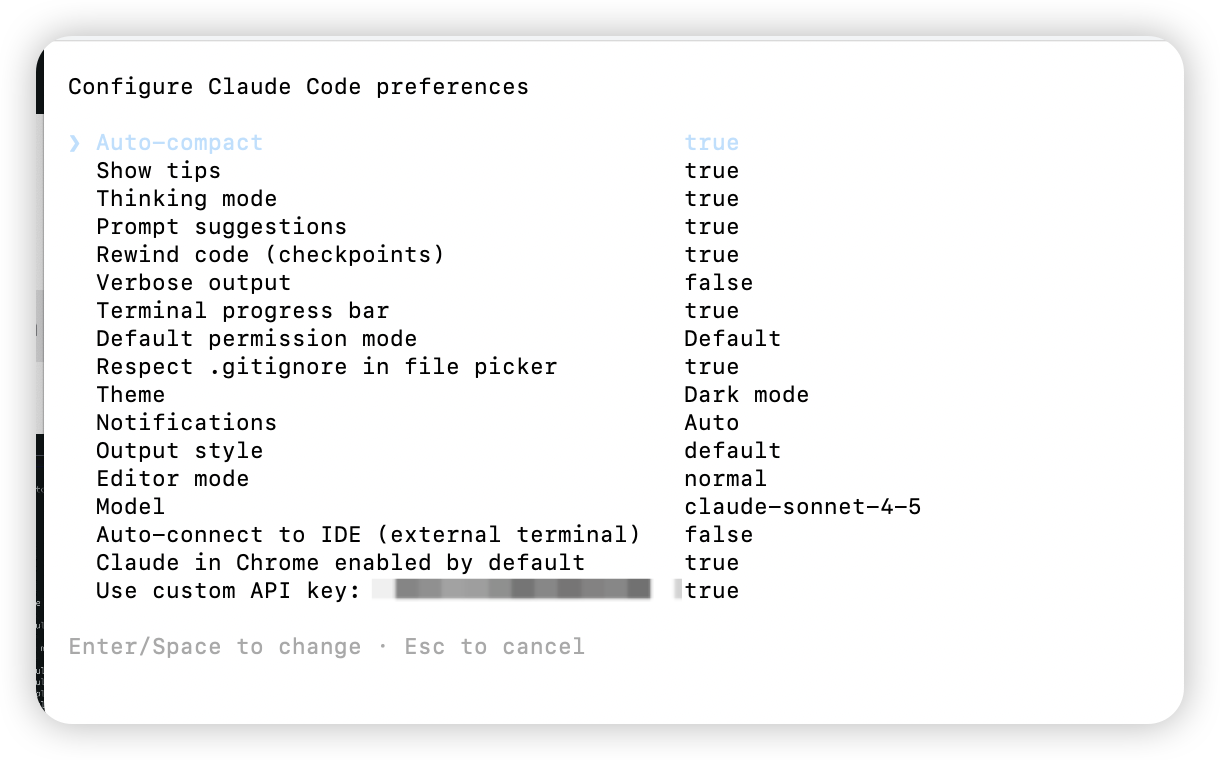
No token provided: no key was sent. Open Claude Code, enter/config, findUse custom API key, and check whether the token is configured.invalid key: AIHUBMIX_API_KEY: this usually means the placeholder from the example was copied as-is. Copy your real key again from the AIHubMix console and updateANTHROPIC_AUTH_TOKEN.this key is not enabled: the request reached AIHubMix, but the current key is not enabled or does not have permission. Check whether the key is enabled, expired, has quota, and can call the selected Claude model in the AIHubMix console.
ANTHROPIC_* variables so the current Provider in CC Switch can take over.
Note: /v1/models may return a model list even without a valid key, so do not use it to determine whether the key is usable. Use the minimal message request in “Verify the Configuration” above. If it returns 200 and the content is 2, the key and model are usable. Then restart Claude Code or restart it through CC Switch.
Q: What should I do if I get 400 Incorrect model ID or Bad request (400)?
This usually means the request reached the provider side, but the model ID is incorrect, the model name does not match the interface, or the current key does not have permission to call that model. Copy the full model ID again from the AIHubMix model list, and make sure there are no manual spelling, capitalization, or model-family mistakes.
If you configure through CC Switch, return to the corresponding Provider, update the model ID, save it, and restart Claude Code. If the error persists, first use a Claude model confirmed available in the model list to complete the health check, then switch to the target model.
Q: After successfully installing on macOS, I still get an error: zsh: command not found: claude
This is because the Claude CLI is installed, but its executable directory is not added to the system PATH.
- Confirm the Claude installation path. The official Claude Code script typically installs in one of the following directories:
~/.claude/bin~/.local/bin
- Add the installation directory to the PATH. Execute the corresponding command based on the actual installation location:
Case A: Installed in ~/.claude/bin
Case B: Installed in ~/.local/bin
- Verify if it takes effect. Execute:
claude path and version number, the installation was successful.
Q: Claude Code Unable to Connect to Anthropic Services
After upgrading to the latest version of Claude Code, if you encounter issues connecting to Anthropic services or authentication failures, it is typically due to changes in the authentication request header name. The new version requires updating the request header fromANTHROPIC_API_KEY to ANTHROPIC_AUTH_TOKEN. The value of the API Key does not need to be changed; you only need to update the request header name and reload the configuration. For specific instructions, please refer to this document for reconfiguration.