coding-minimax-m2.1-freecoding-glm-4.7-freeclaude-sonnet-4-5gpt-5gpt-5-codex
在开始安装前,请确保系统已满足以下要求:
- Node.js ≥ 18.0.0
- 对应系统的包管理工具(可选):
- macOS / Linux:
brew - Arch Linux:
paru - Windows:
choco、winget或scoop
- macOS / Linux:
一、安装 OpenCode
可根据所使用的系统与工具选择任意一种安装方式。- 使用 Node.js 安装
- 使用 Homebrew(macOS / Linux)
- 使用 Paru(Arch Linux)
- Windows 安装
二、启动与登录 OpenCode
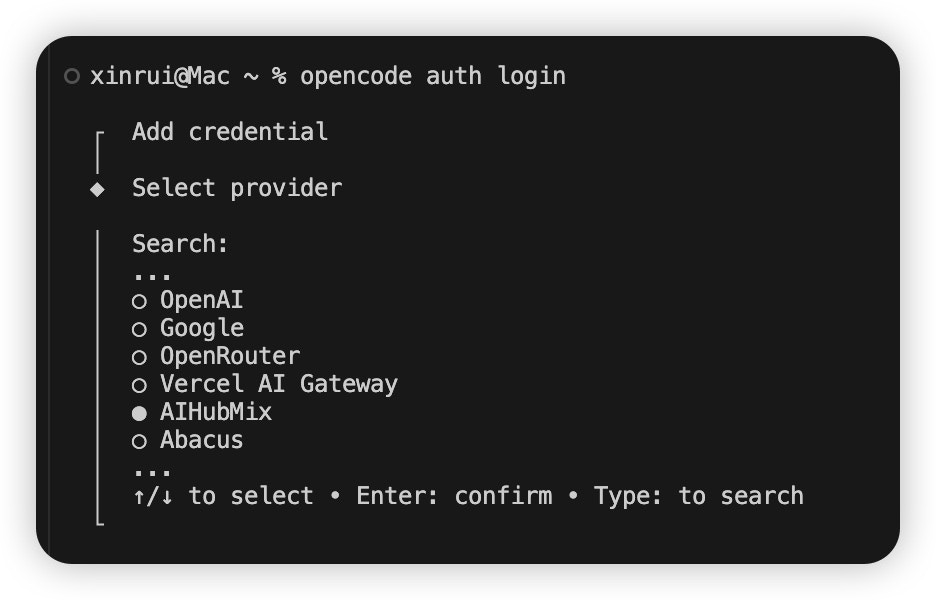
安装完成后,执行以下步骤完成登录与配置。- 登录OpenCode
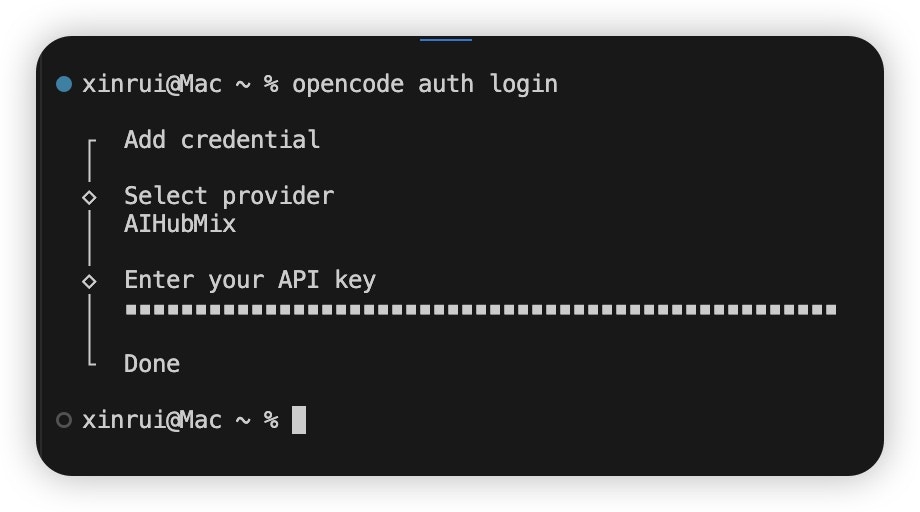
- 选择 AI 供应商
- API Key授权
三、模型使用
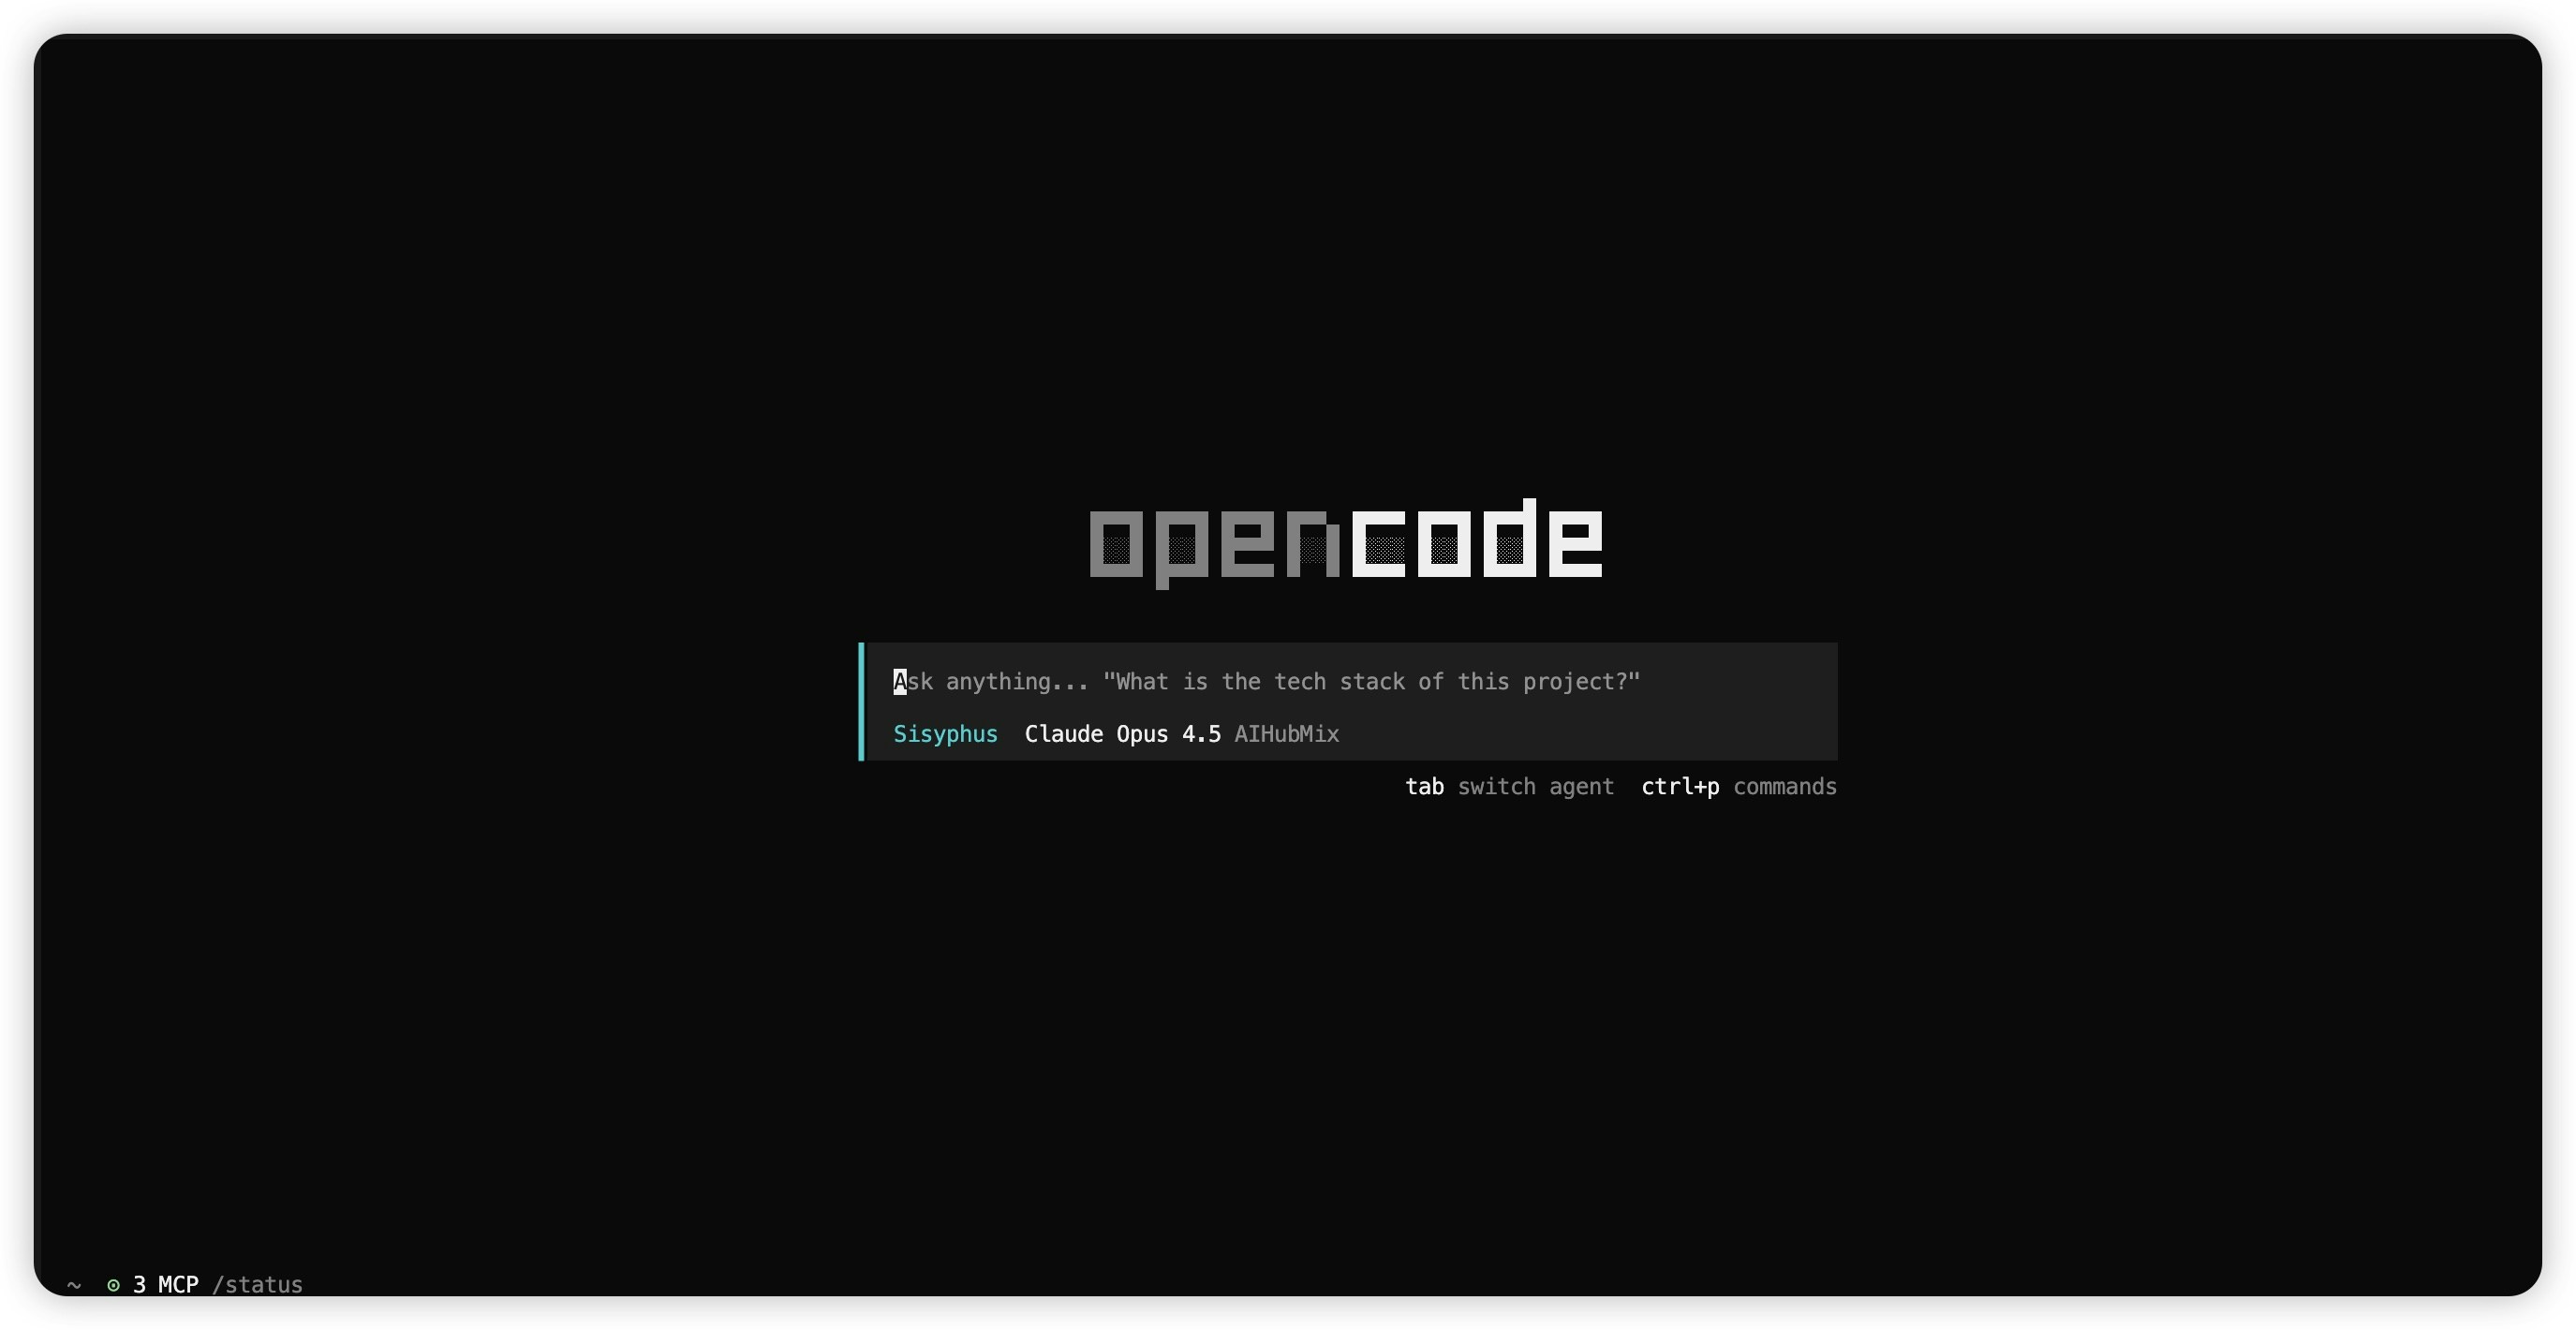
- 安装验证
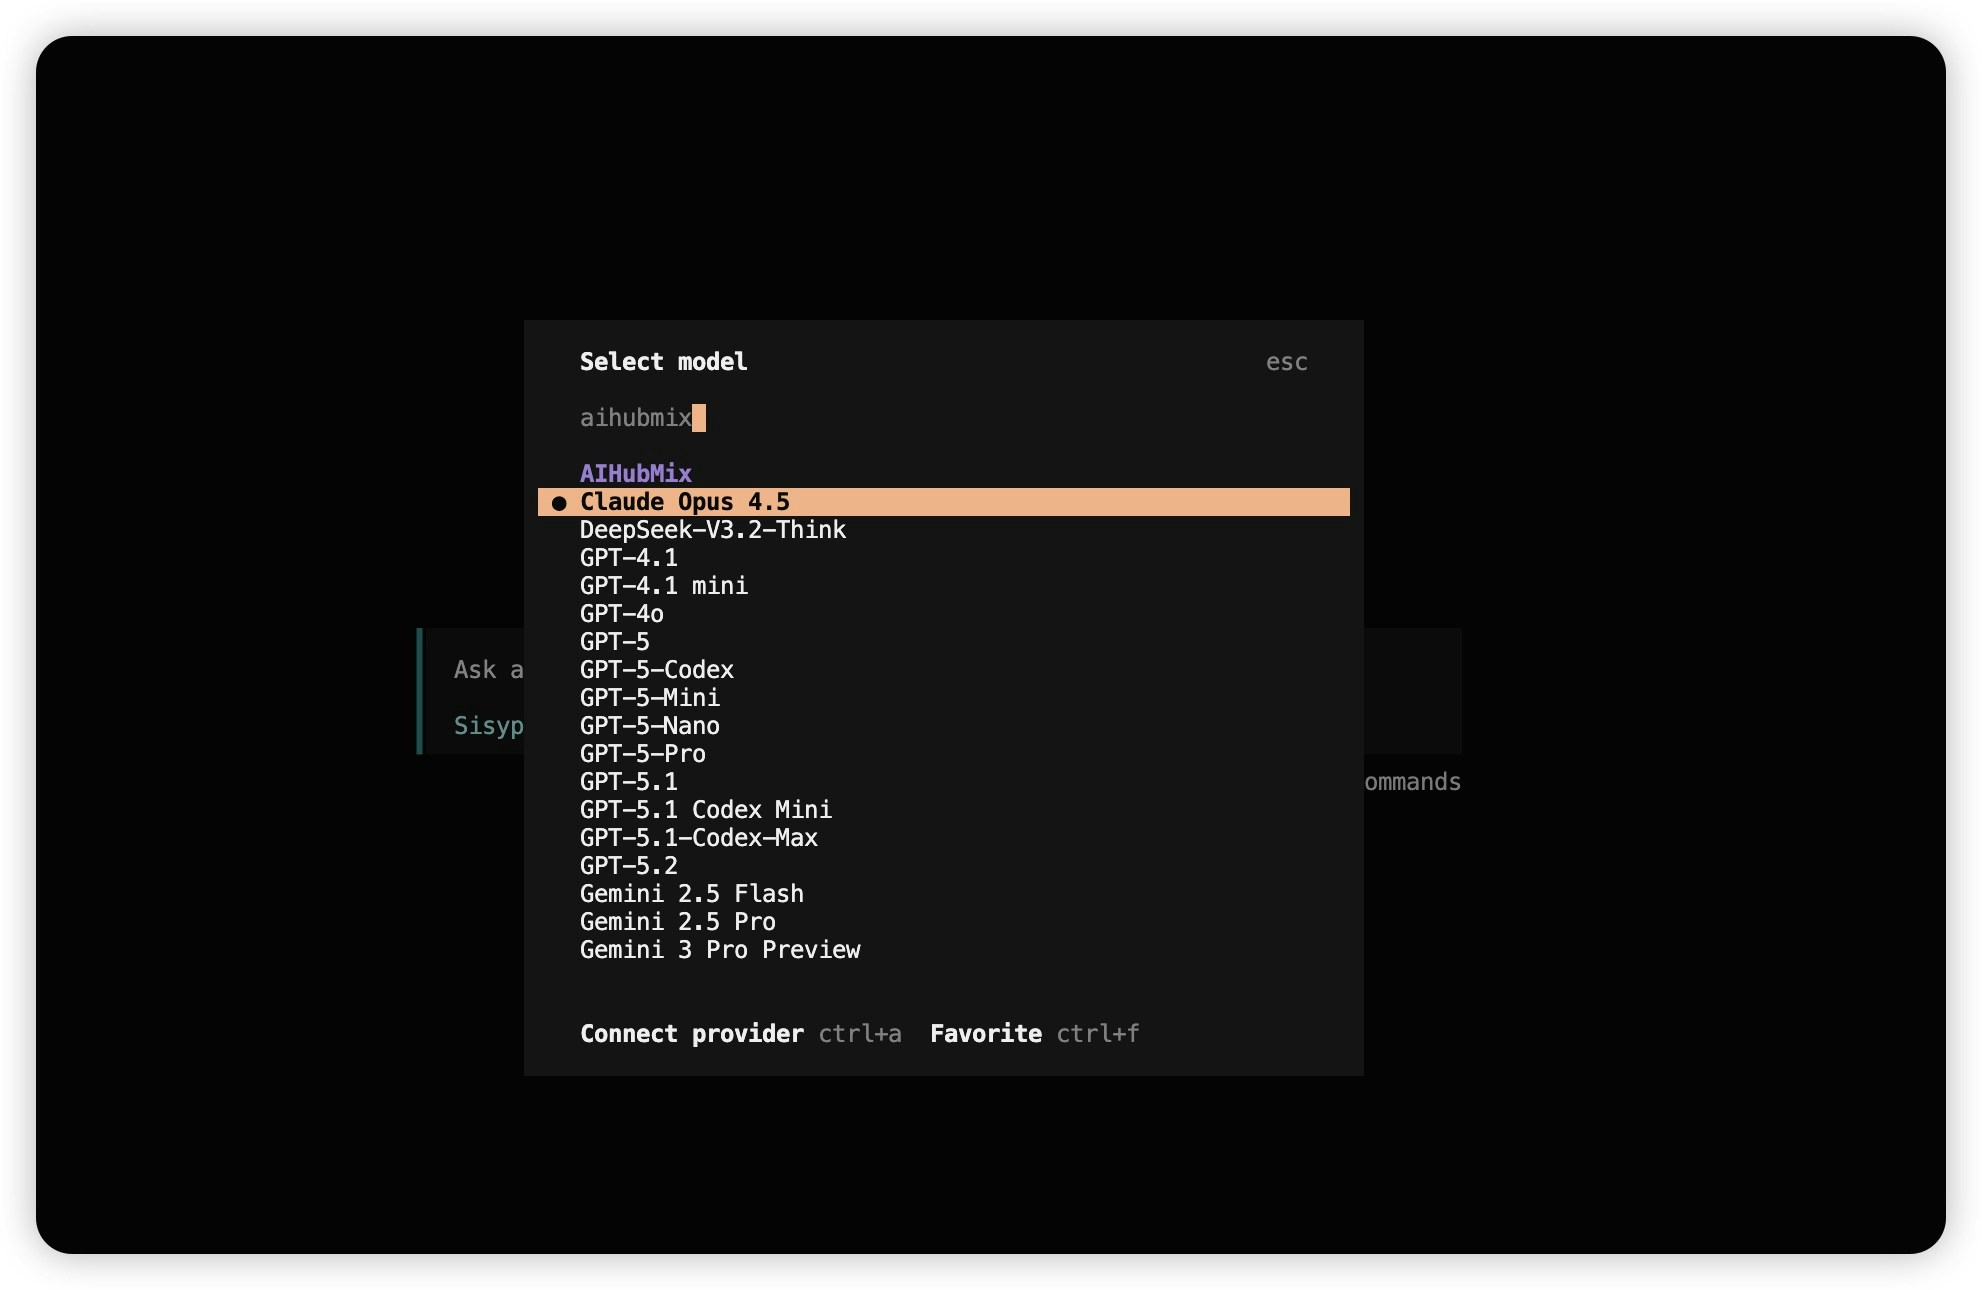
- 选择模型
/models ,搜aihubmix,选择需要的模型。
四、在 OpenCode 客户端使用
- 下载 OpenCode 桌面端:https://opencode.ai/download 。
- 打开 OpenCode,输入
/model->Connet provider-> 搜索aihubmix-> 输入 API Key ->Submit。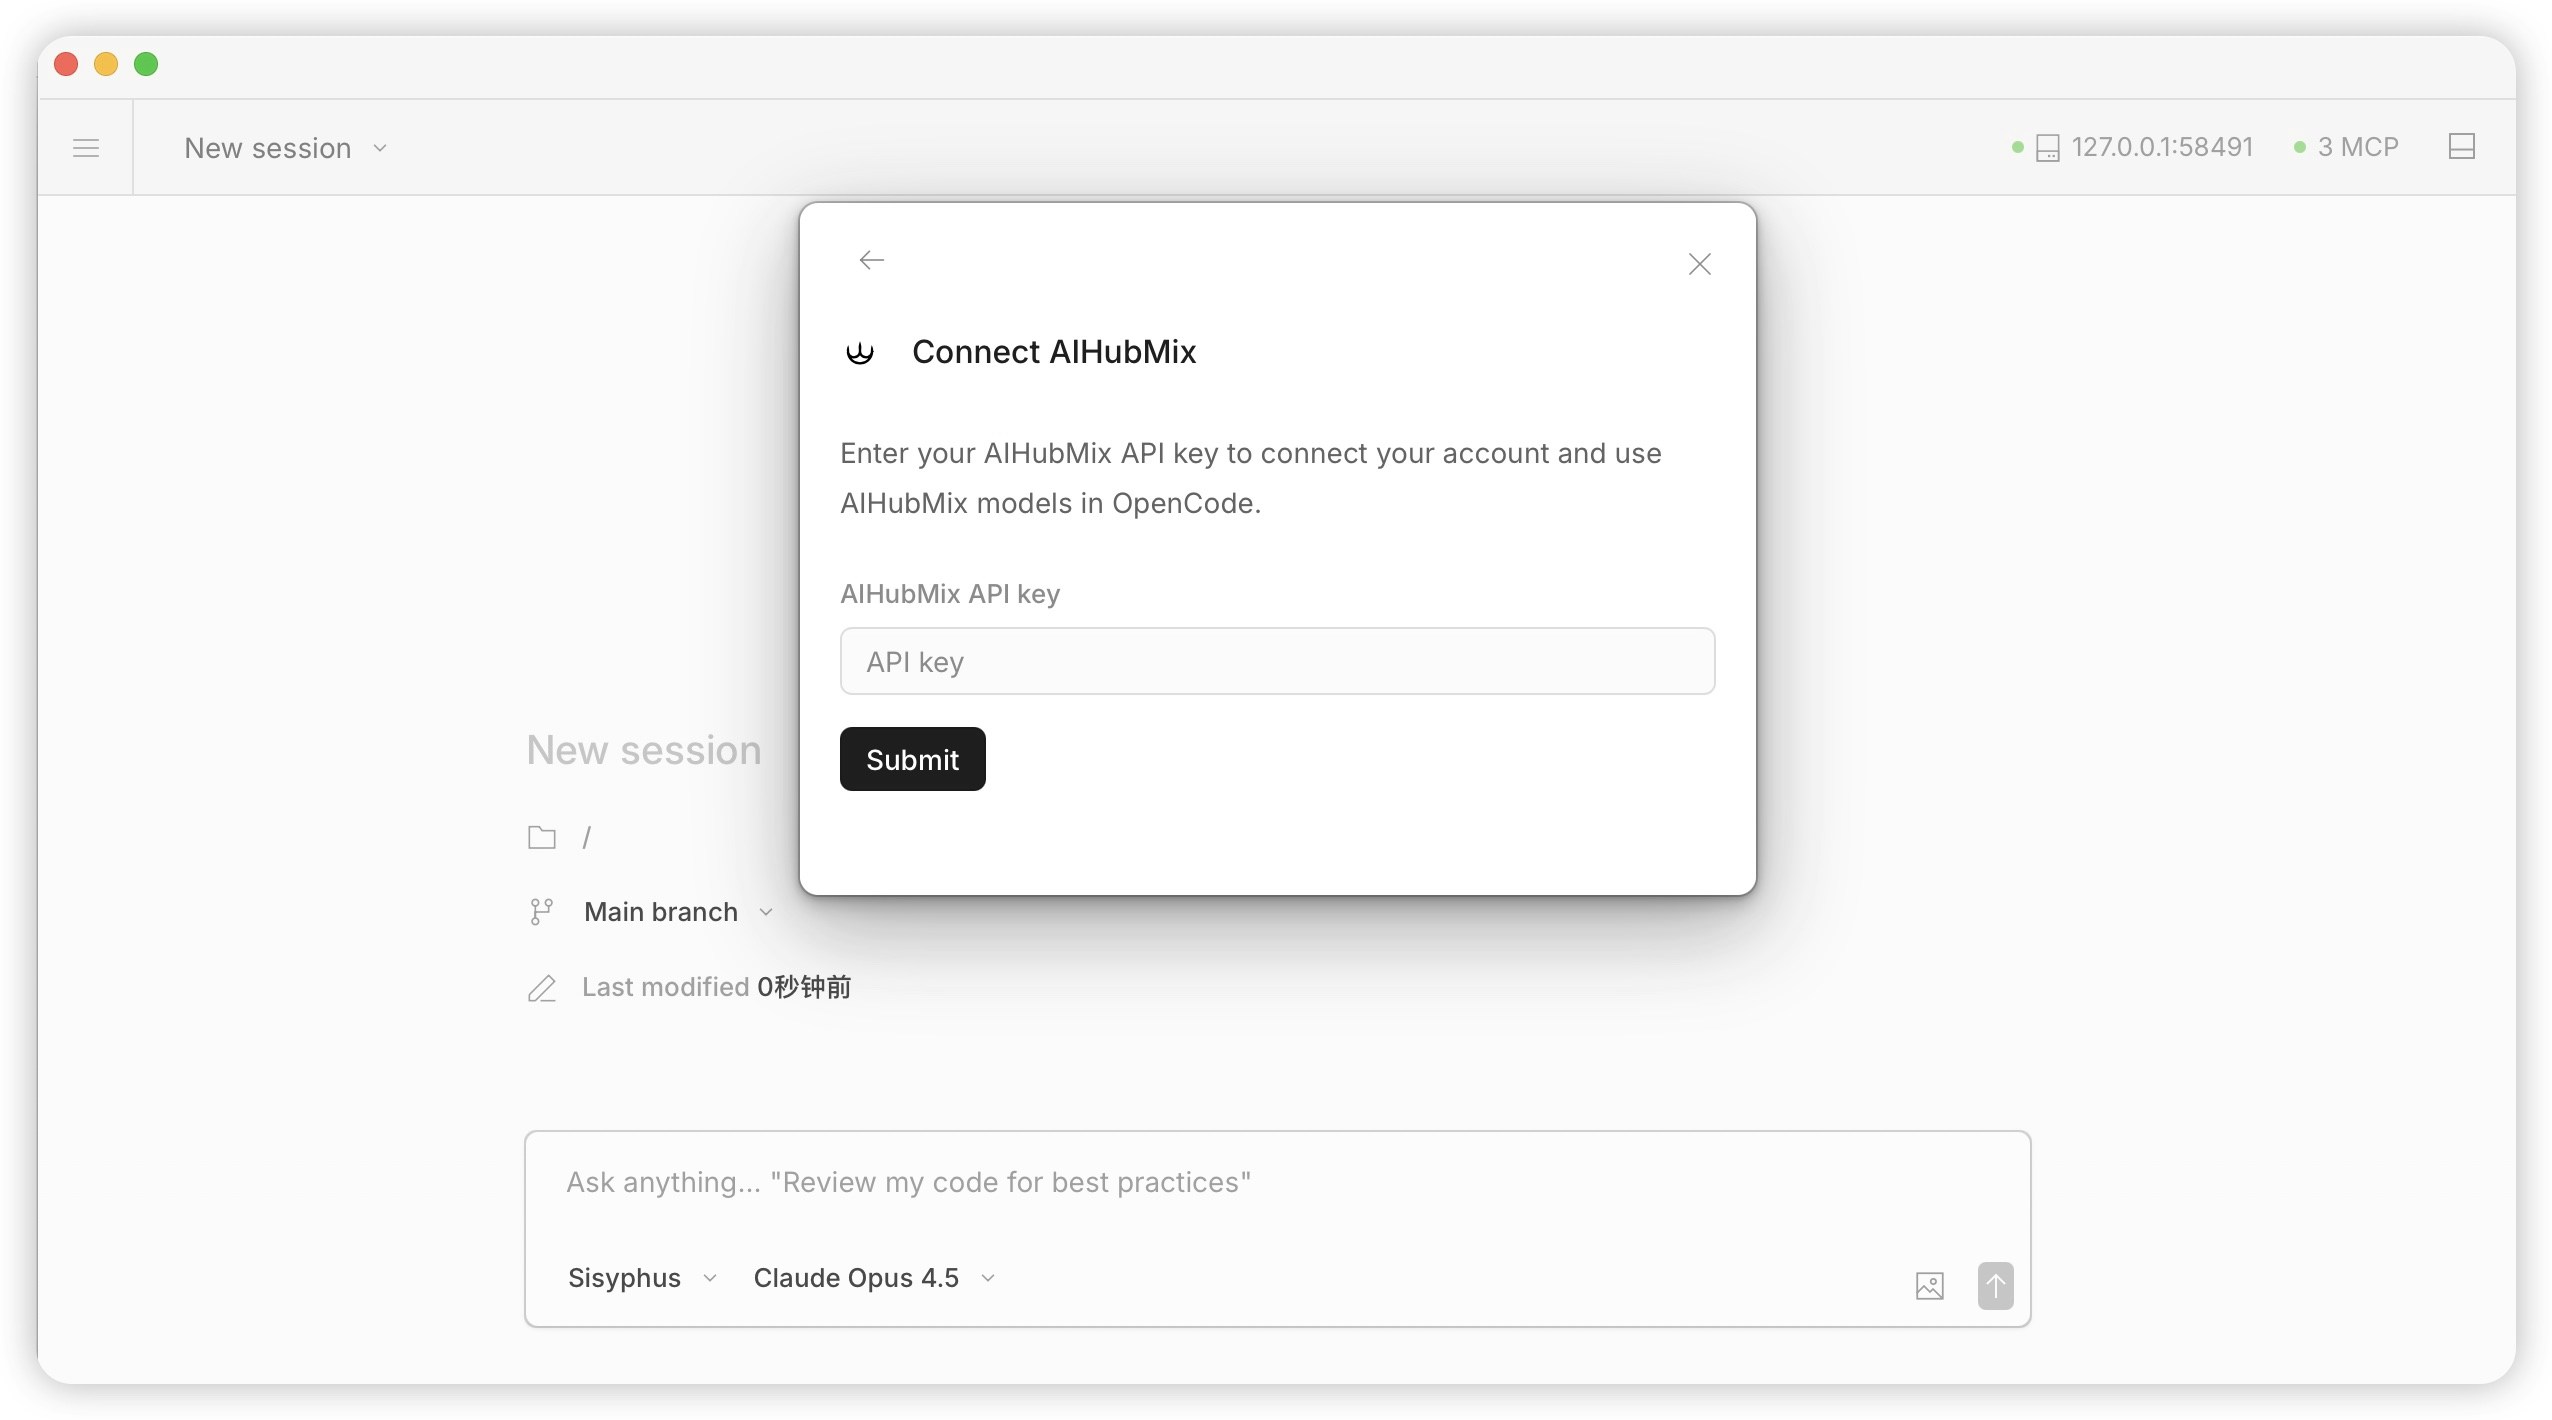
- 在模型选择栏搜
aihubmix,选择需要使用的模型即可使用。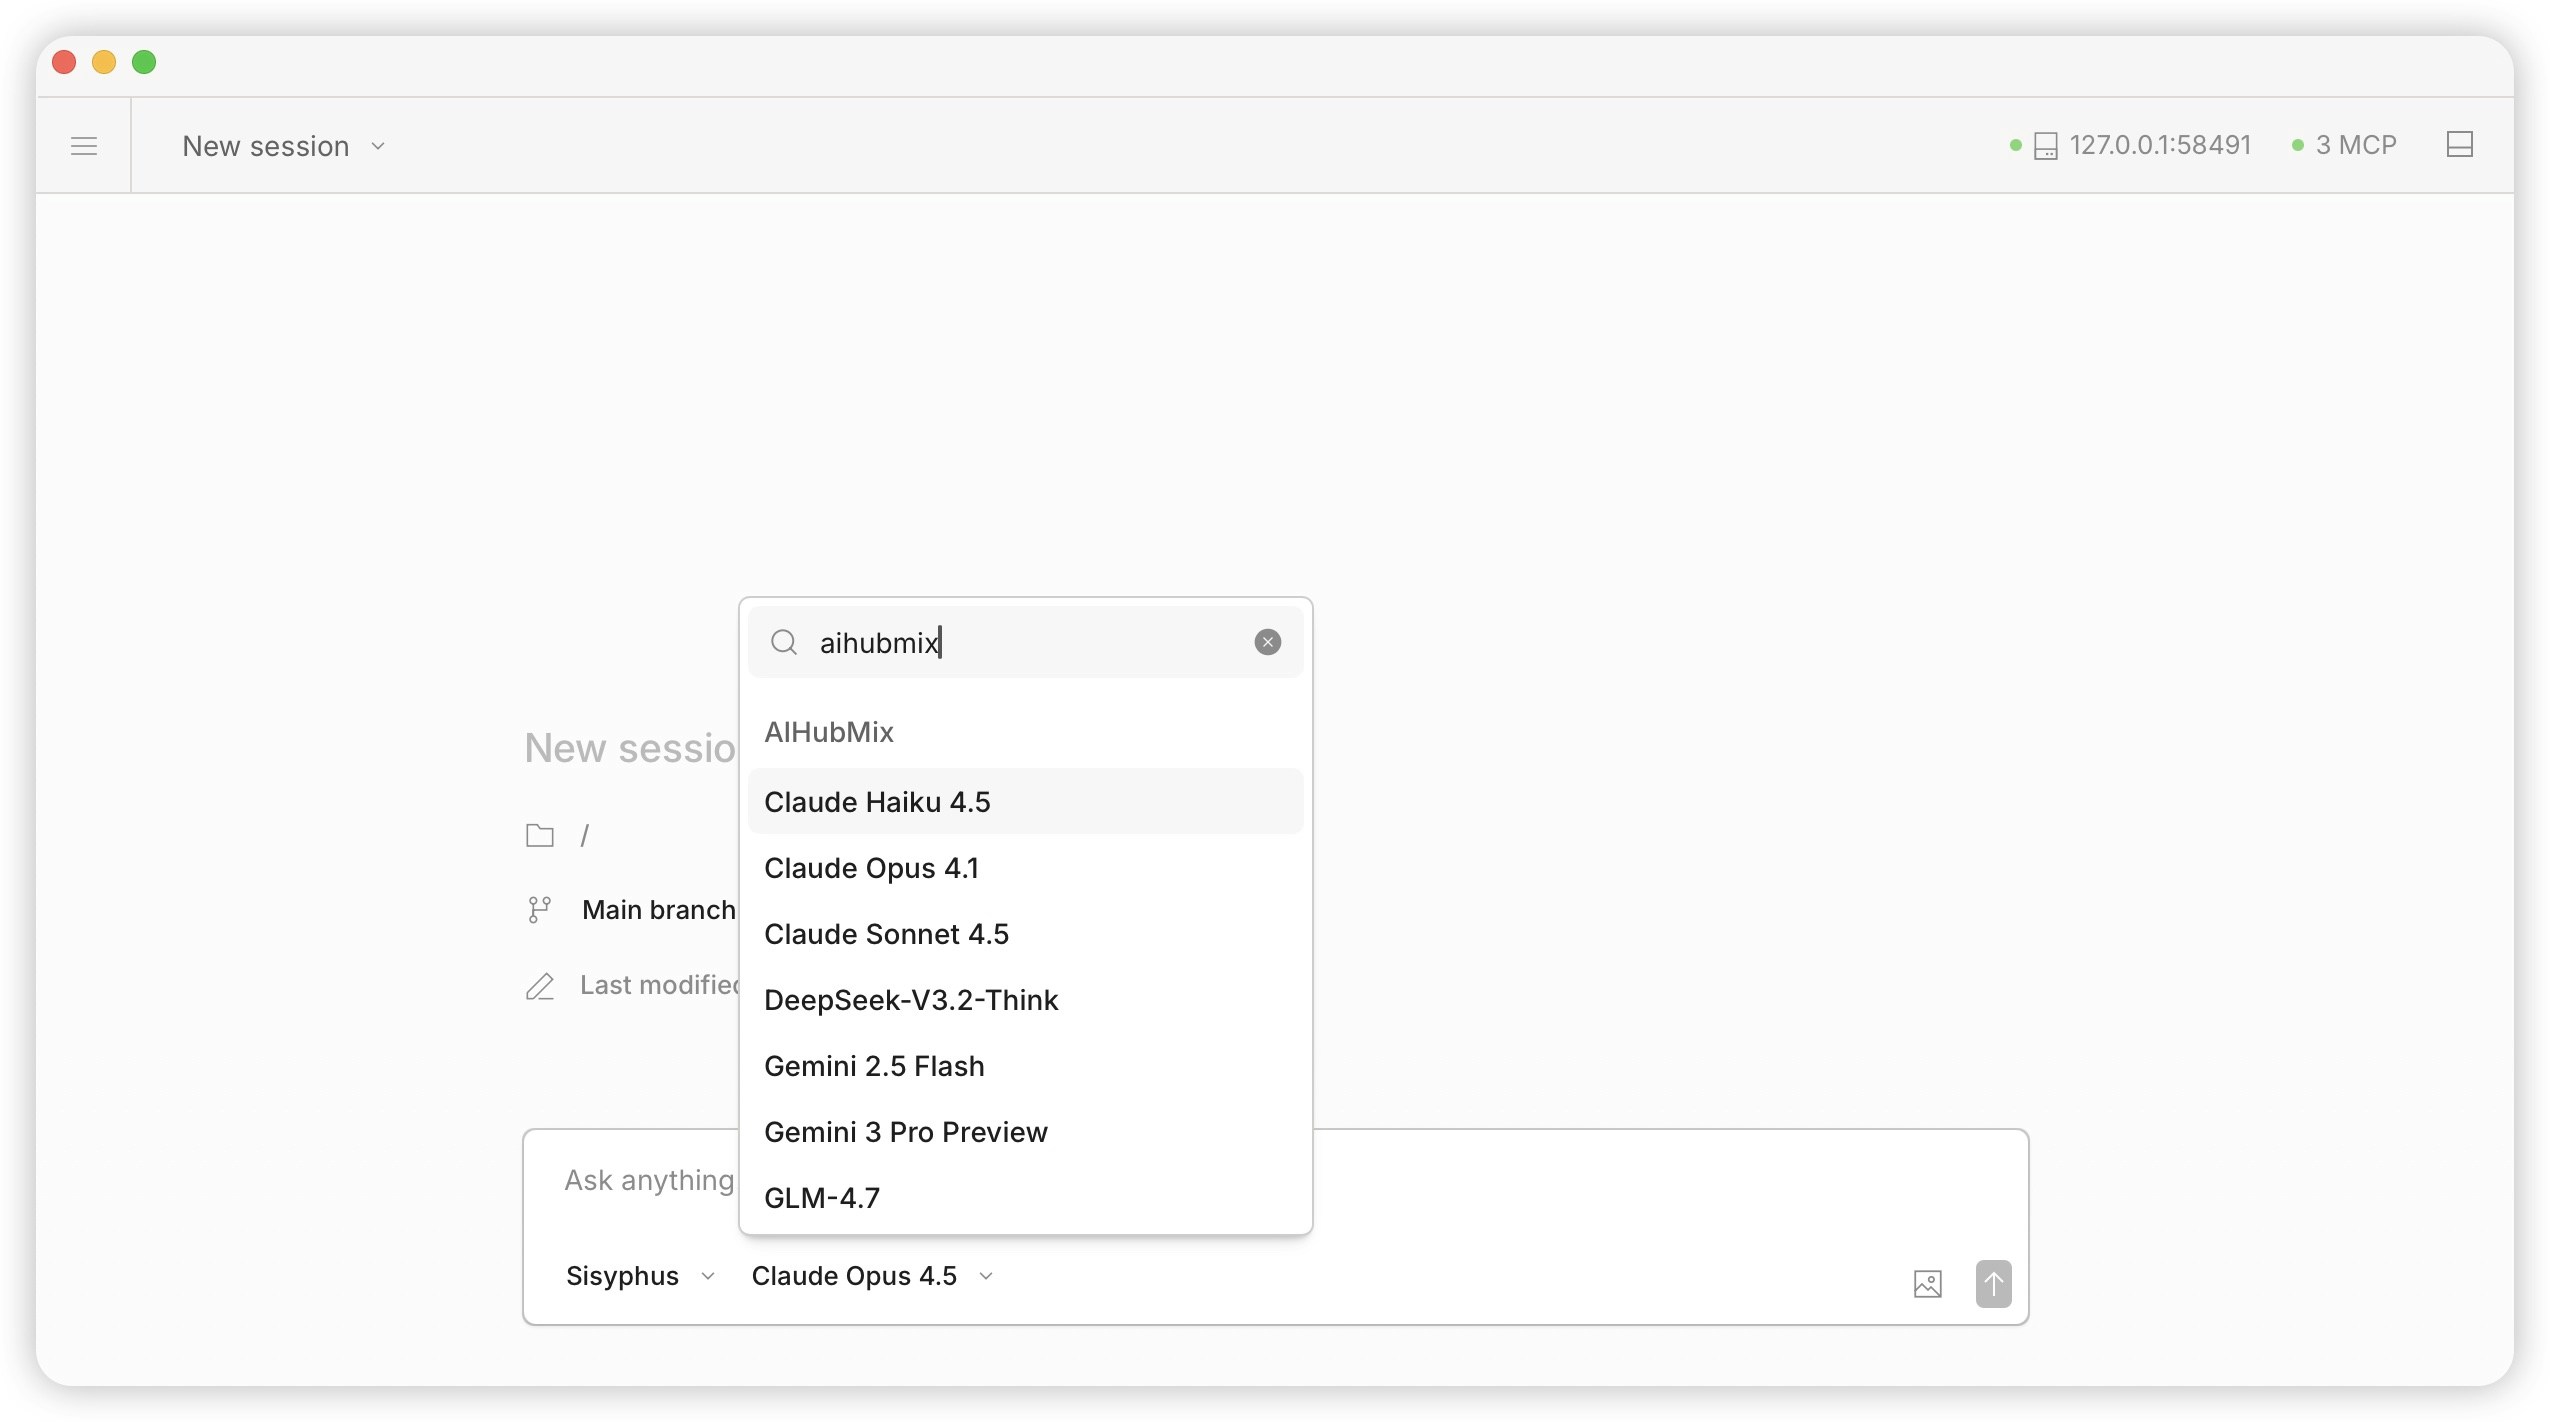
五、手动配置更新模型
以添加 DeepSeek V4 Pro 为例。第一步:确认模型 ID
在 AIHubMix 模型界面找到目标模型,复制 ID。 也可以通过 API 直接查询:第二步:打开配置文件
根据你的系统,在终端运行对应命令: Mac第三步:写入配置
如果是空文件,直接粘贴以下内容:"models" 里追加新模型,每个模型之间用逗号隔开:
注意:最后一个模型后面不加逗号,否则文件格式会出错。保存文件:Mac 按
Command + S,Windows 按 Ctrl + S。
字段说明:
| 字段 | 说明 |
|---|---|
name | 模型ID |
contextLength | 上下文长度(token数) |
type | 模型类型,文本对话填 "language" |
第四步:重启 OpenCode
保存配置文件后,完全退出 OpenCode 并重新启动,新模型才会加载。第五步:验证
打开模型选择(默认快捷键;),搜索 V4 或 DeepSeek,确认 DeepSeek-V4-Pro 已出现在列表中。
六、常见问题与提示
- 若API Key无法通过验证,请重新登录AIHubMix并检查密钥有效性。
- 查看帮助文档:
opencode->/help。 - opencode官方文档:https://opencode.ai/docs/ 。