> ## Documentation Index
> Fetch the complete documentation index at: https://docs.aihubmix.com/llms.txt
> Use this file to discover all available pages before exploring further.
# Gemini CLI
用 Aihubmix 為 Gemini CLI 提供強勁動力,享受穩定高效的 Gemini 模型服務。
## 快速配置指引:
### 1️⃣ 全域安裝 npm 套件
終端機執行:
```shell theme={null}
npm install -g @google/gemini-cli
```
確保你的 Node.js 版本 >= 18
更多詳細說明可以參考:
1. [官方倉庫](https://github.com/google-gemini/gemini-cli)
2. [詳細配置](https://github.com/google-gemini/gemini-cli/blob/main/docs/cli/configuration.md)
### 2️⃣ 環境變數配置
在系統環境變數中填入 Aihubmix 密鑰和轉發位址,密鑰可以在 Aihubmix [「Keys」頁面](https://aihubmix.com/token) 生成。
比如在 \~/.zshrc 中新增:
```shell theme={null}
export GOOGLE_GEMINI_BASE_URL="https://aihubmix.com/gemini"
export GEMINI_API_KEY="sk-***"
```
對於 Mac 使用者,你可以在`使用者名稱`目錄透過快捷鍵 `⌘ + ⇧ + .` 顯示隱藏的 .zshrc 檔案,用系統的「文字編輯」APP 開啟並新增上述內容。
### 3️⃣ 使配置生效
新增配置之後,終端機執行 `source ~/.zshrc`,按下 Enter 即可。
### 4️⃣ 終端機啟動
終端機輸入
```shell theme={null}
gemini
```
## 初始化配置
### 選擇接入方式
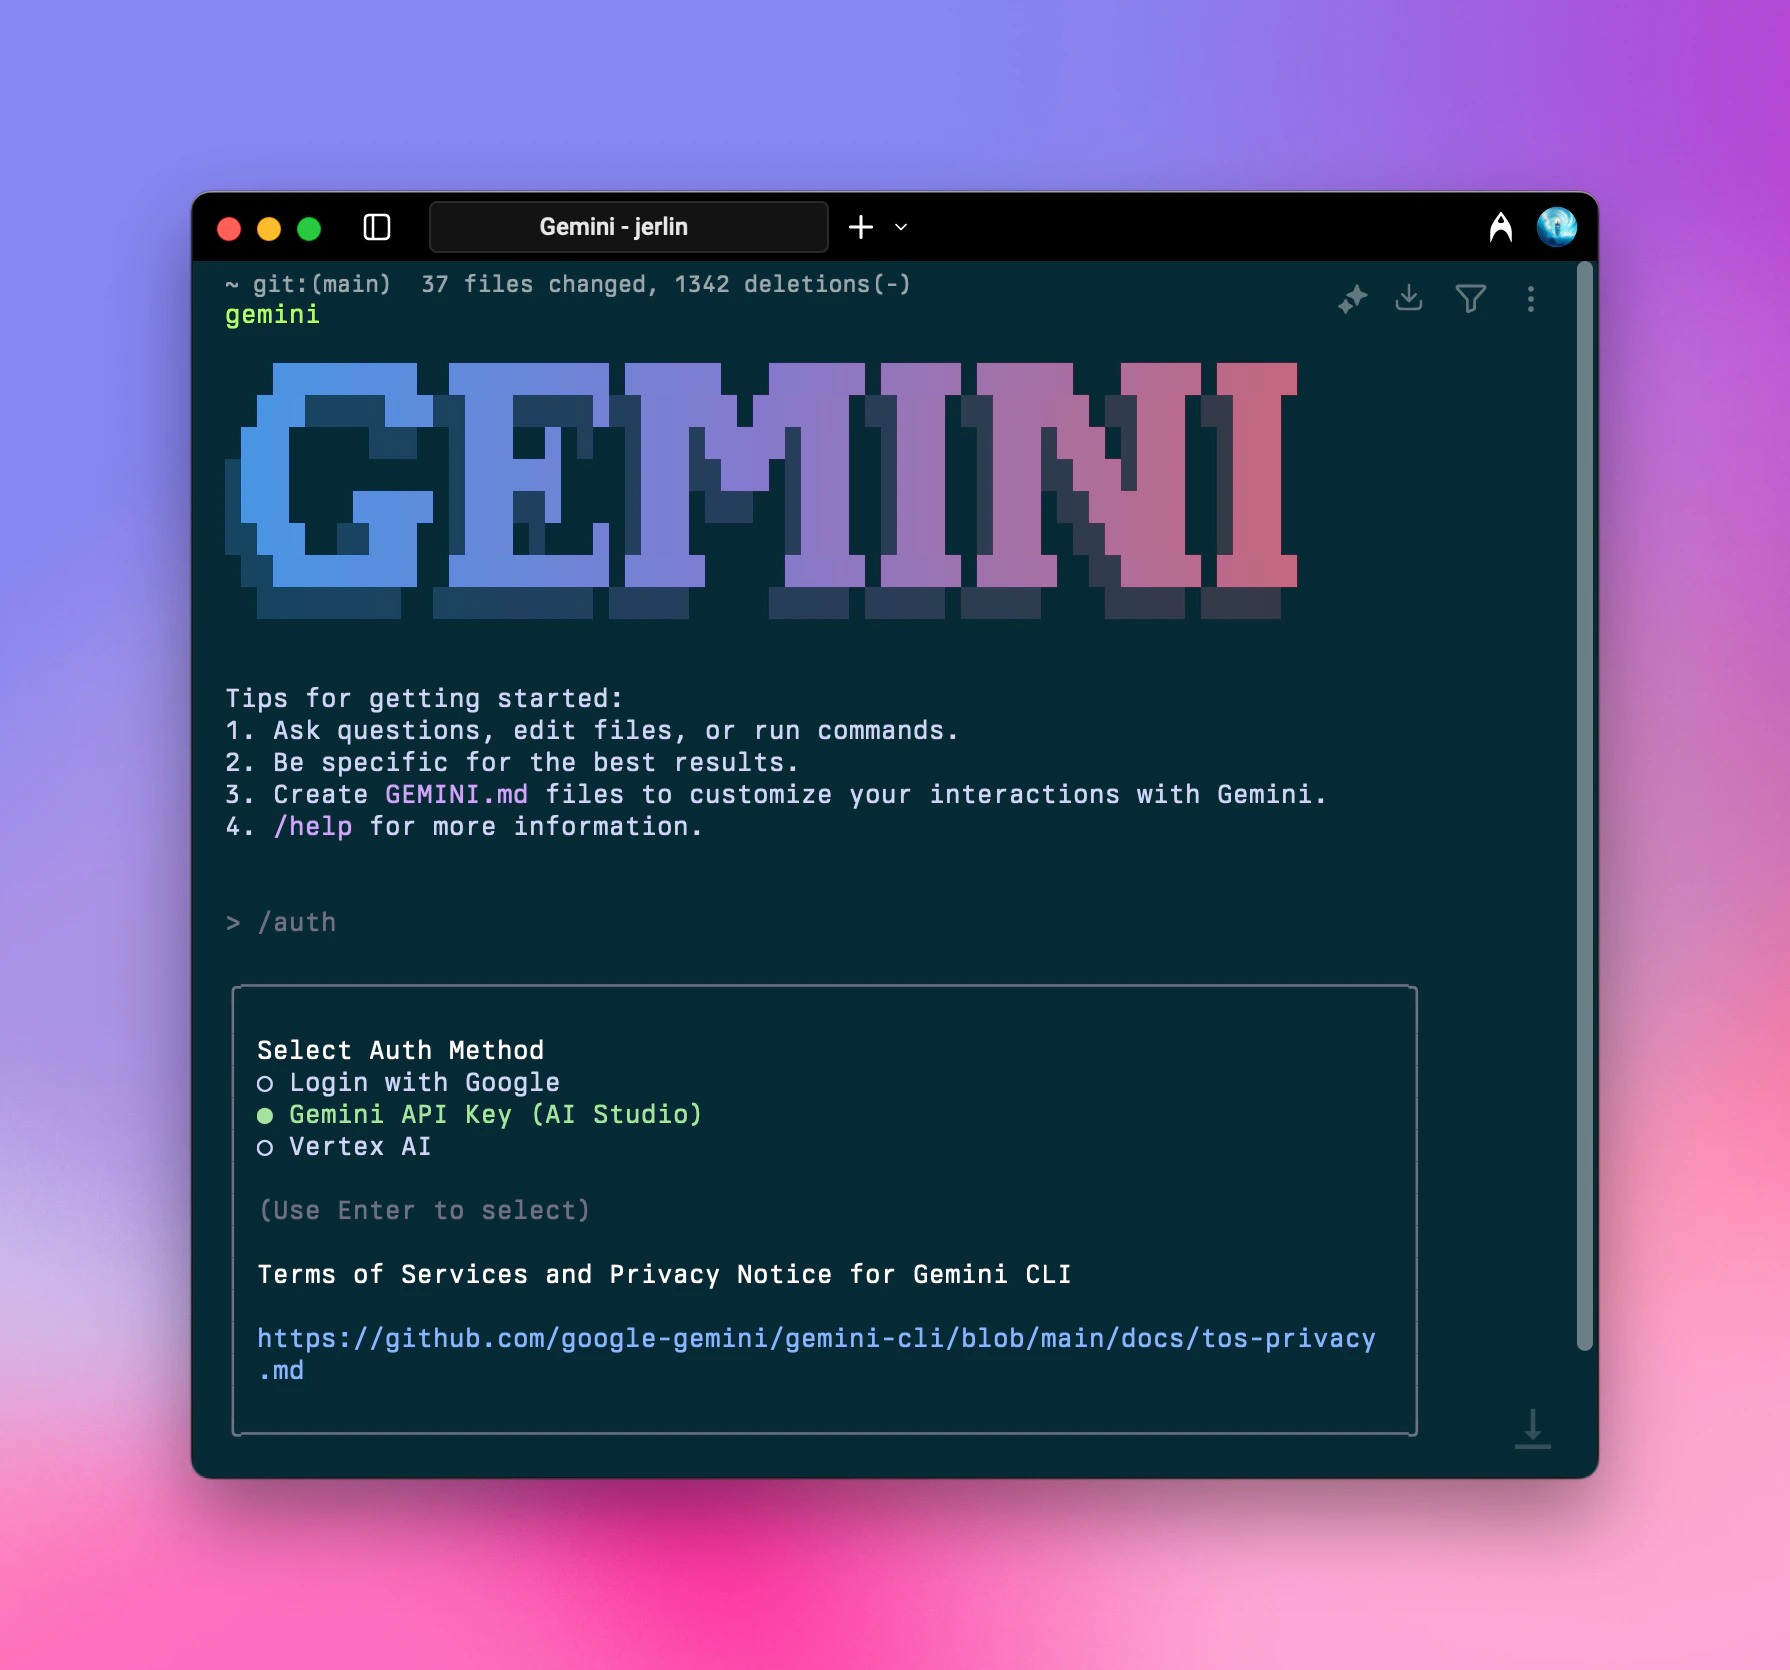 啟動之後輸入 `/auth`,按下 Enter,選擇 `Gemini API Key (AI Studio)`
```shell theme={null}
○ Login with Google
● Gemini API Key (AI Studio)
○ vertex AI
```
你可以隨時用 `/auth` 指令來切換授權方式。
### 啟動成功
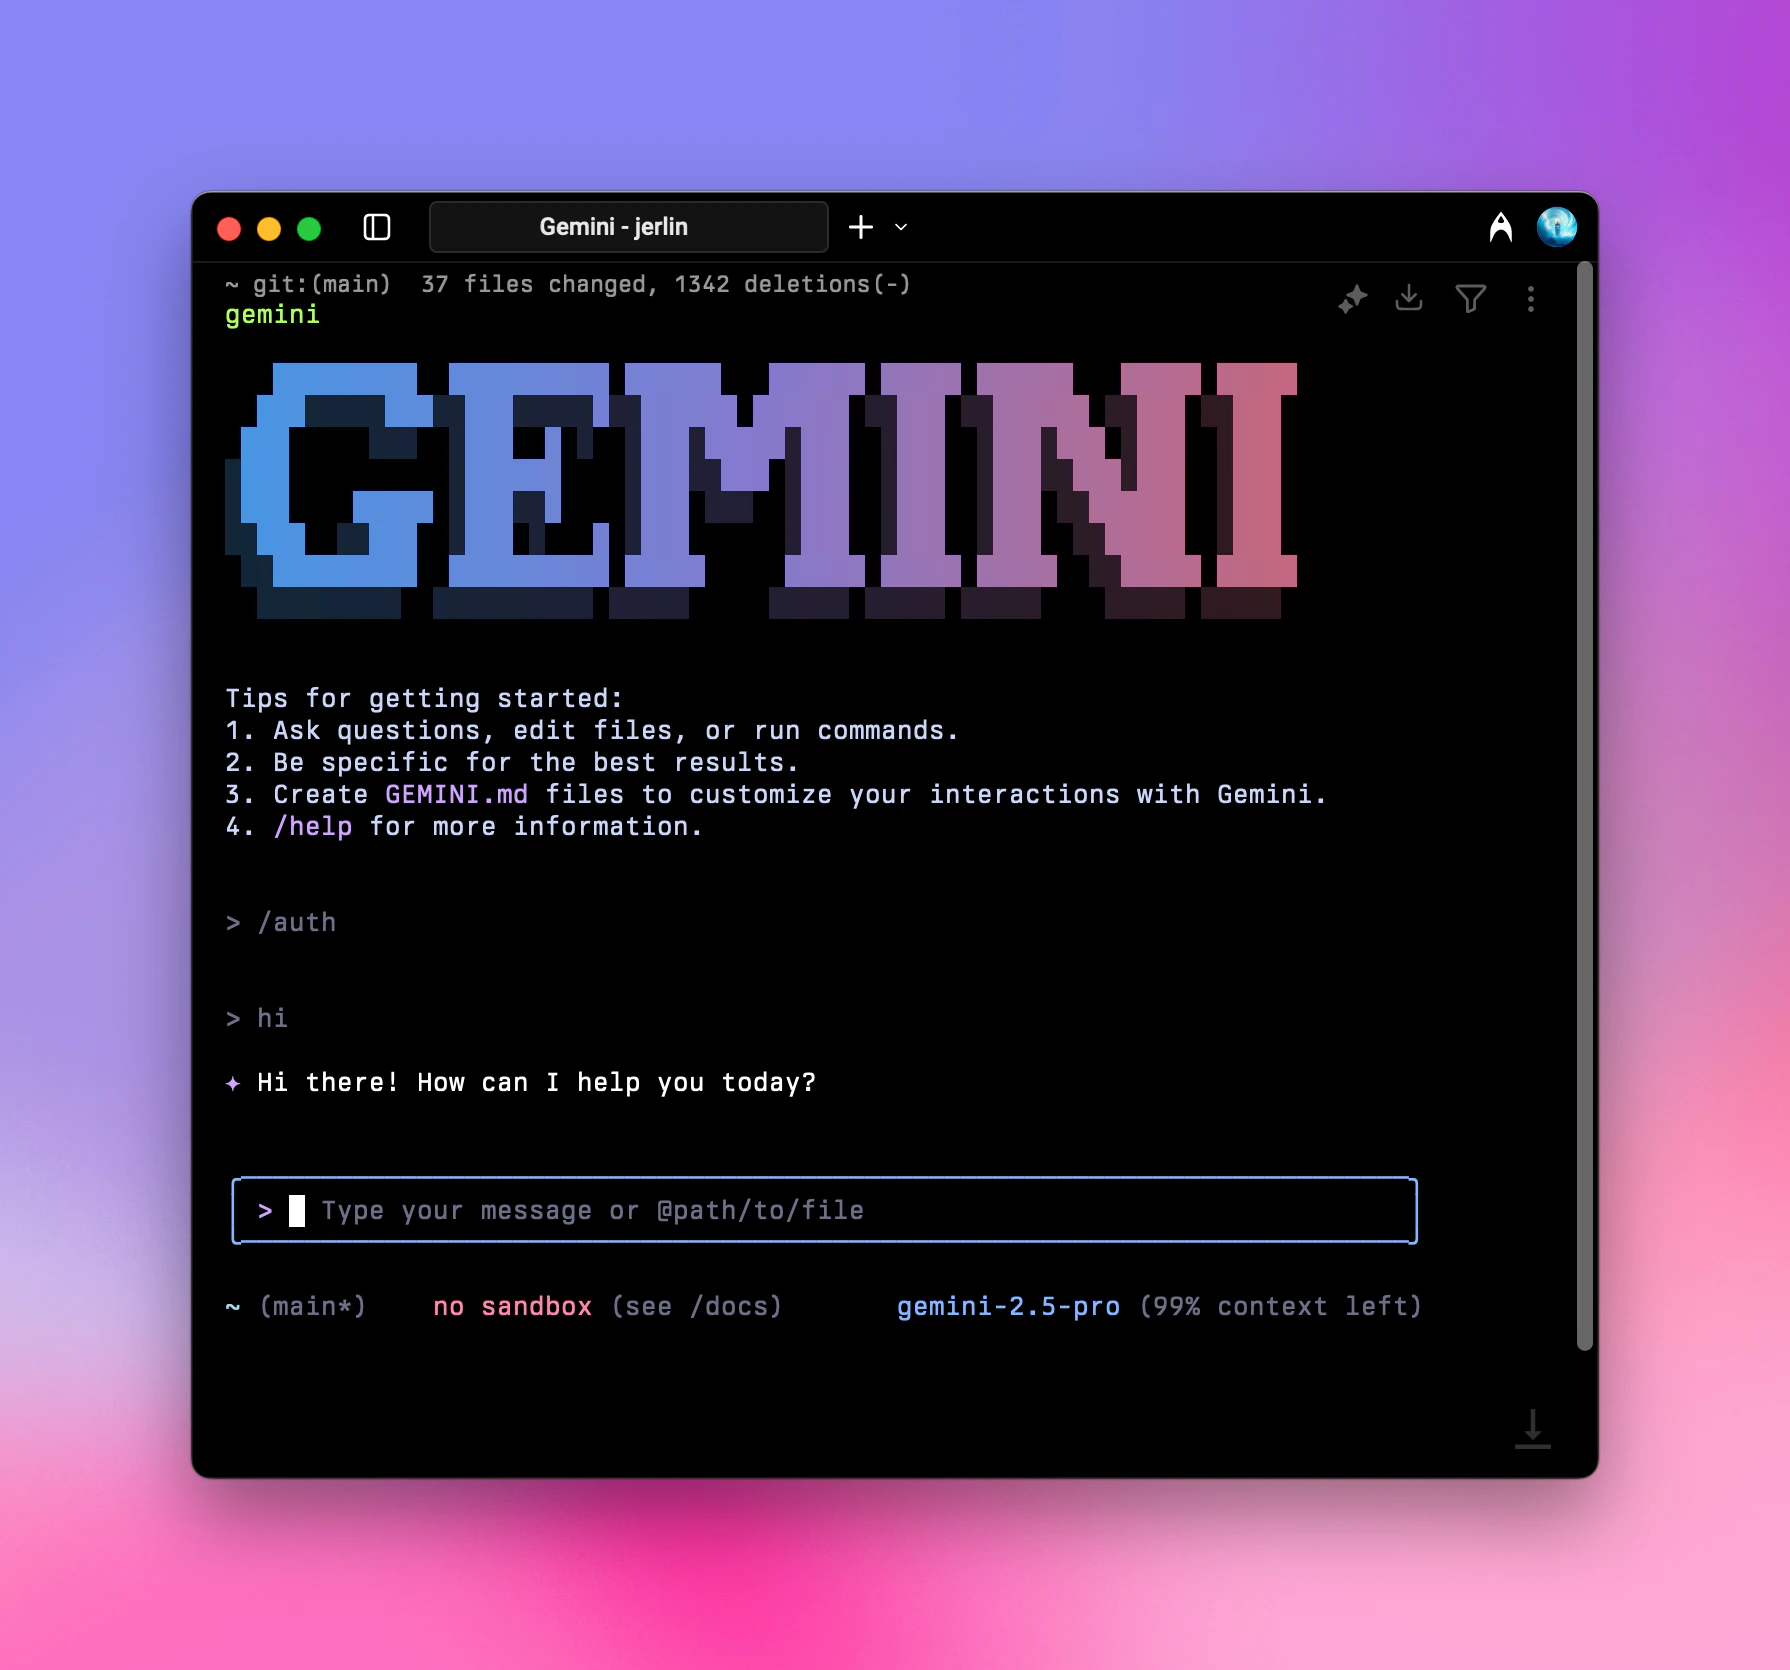
完成以上初始化即可正常使用。
啟動之後輸入 `/auth`,按下 Enter,選擇 `Gemini API Key (AI Studio)`
```shell theme={null}
○ Login with Google
● Gemini API Key (AI Studio)
○ vertex AI
```
你可以隨時用 `/auth` 指令來切換授權方式。
### 啟動成功
完成以上初始化即可正常使用。
 ## 祝你使用愉快!
最後更新:2026-06-01
## 祝你使用愉快!
最後更新:2026-06-01