> ## Documentation Index
> Fetch the complete documentation index at: https://docs.aihubmix.com/llms.txt
> Use this file to discover all available pages before exploring further.
# Zotero 사용법
## PDF 읽기 플러그인: zotero-gpt
다운로드 링크: [https://github.com/MuiseDestiny/zotero-gpt/releases](https://github.com/MuiseDestiny/zotero-gpt/releases)
플러그인 설치 후, 편집 메뉴에서 설정(이전 버전에서는 환경설정)을 찾습니다. GPT 설정 인터페이스를 찾습니다.\\
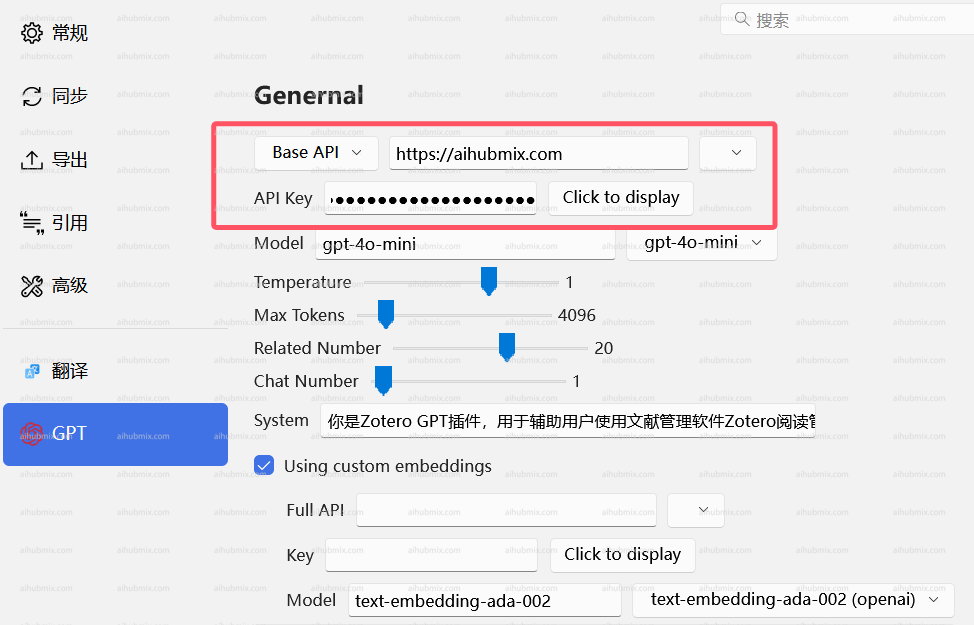 그림과 같이 기본 API를 구성하고 [API 키](https://aihubmix.com/token)를 입력합니다.
다음 명령어를 사용하여 설정하는 경우.
먼저, "Ctrl + /"를 사용하여 명령 창을 엽니다.\\
그림과 같이 기본 API를 구성하고 [API 키](https://aihubmix.com/token)를 입력합니다.
다음 명령어를 사용하여 설정하는 경우.
먼저, "Ctrl + /"를 사용하여 명령 창을 엽니다.\\
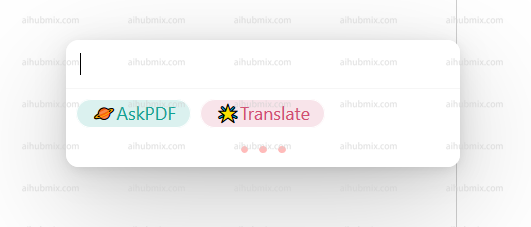 ```
/api https://aihubmix.com
```
을 입력하고 Enter를 누릅니다.\\
```
/api https://aihubmix.com
```
을 입력하고 Enter를 누릅니다.\\
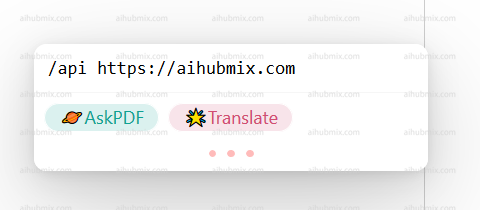
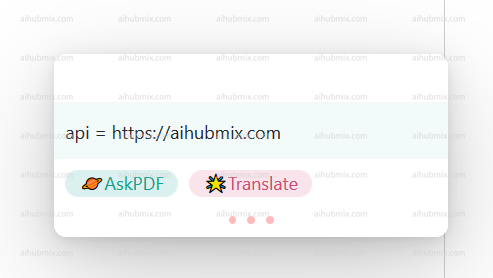 ```
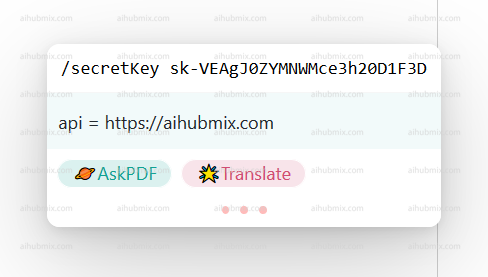
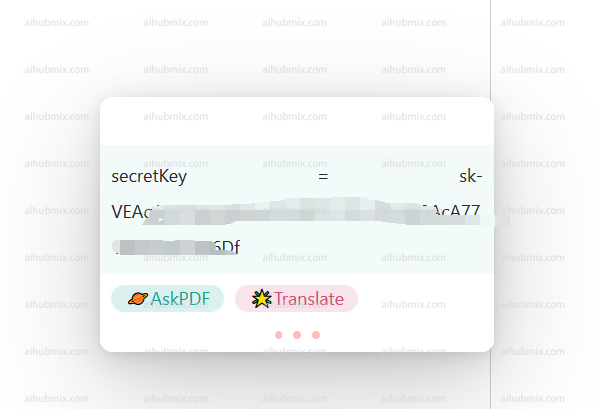
/secretKey + 귀하의 API 키 (키에서 생성된, sk- 포함)
```
를 입력합니다.\\
```
/secretKey + 귀하의 API 키 (키에서 생성된, sk- 포함)
```
를 입력합니다.\\
 \
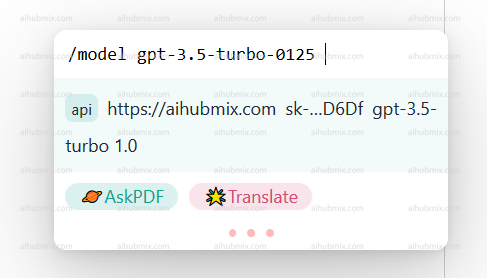
모델 전환 명령어
```
/model gpt-3.5-turbo-0125
```
\
모델 전환 명령어
```
/model gpt-3.5-turbo-0125
```
 \
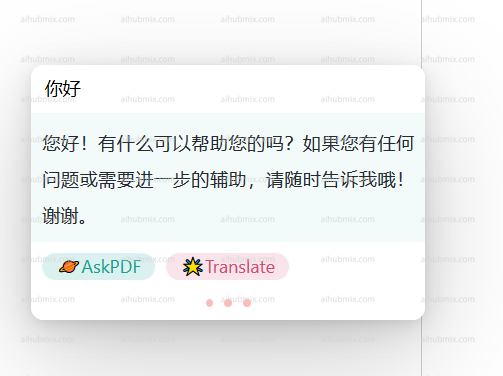
사용하려는 모델을 선택한 후, 사용을 시작할 수 있습니다.\\
\
사용하려는 모델을 선택한 후, 사용을 시작할 수 있습니다.\\
 ## 번역 플러그인: zotero-pdf-translate
다운로드 링크: [https://github.com/windingwind/zotero-pdf-translate/releases](https://github.com/windingwind/zotero-pdf-translate/releases)
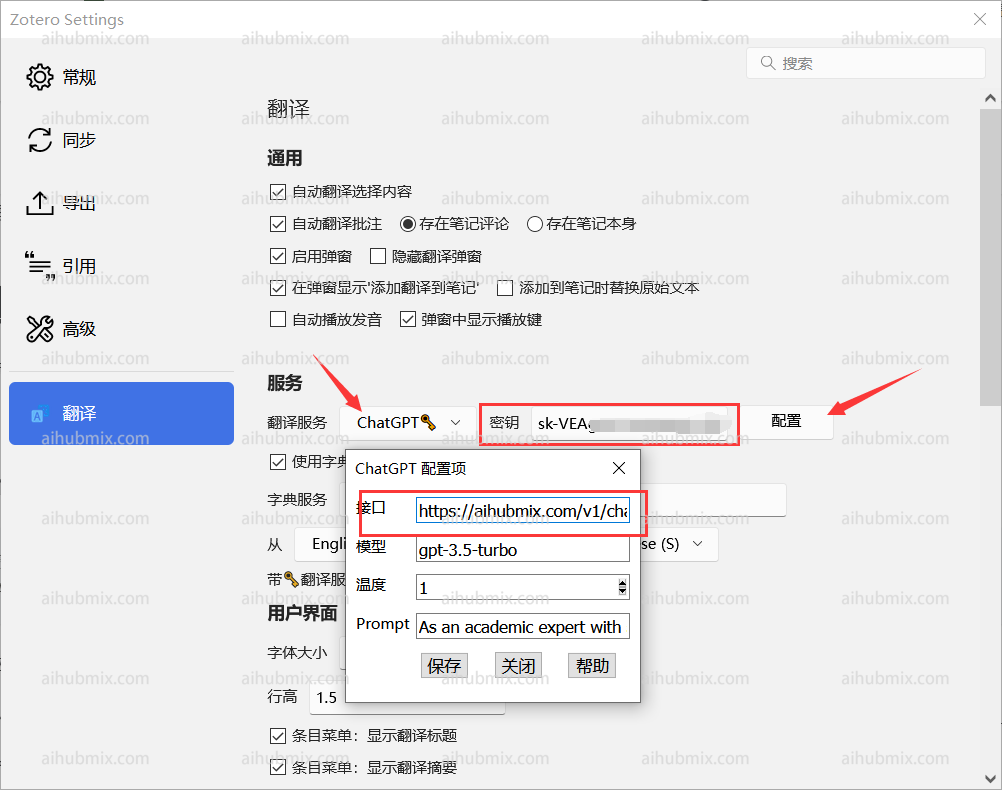
편집 메뉴에서 설정(이전 버전에서는 환경설정)을 찾습니다. 번역 설정 인터페이스를 찾습니다.\
API 엔드포인트 URL을 다음과 같이 입력합니다:
```
https://aihubmix.com/v1/chat/completions
```
상태가 사용 가능으로 표시되는지 여부는 걱정하지 마십시오. 그냥 채워 넣으면 작동합니다.\\
## 번역 플러그인: zotero-pdf-translate
다운로드 링크: [https://github.com/windingwind/zotero-pdf-translate/releases](https://github.com/windingwind/zotero-pdf-translate/releases)
편집 메뉴에서 설정(이전 버전에서는 환경설정)을 찾습니다. 번역 설정 인터페이스를 찾습니다.\
API 엔드포인트 URL을 다음과 같이 입력합니다:
```
https://aihubmix.com/v1/chat/completions
```
상태가 사용 가능으로 표시되는지 여부는 걱정하지 마십시오. 그냥 채워 넣으면 작동합니다.\\
 ***
마지막 업데이트: 2026-06-01
***
마지막 업데이트: 2026-06-01