> ## Documentation Index
> Fetch the complete documentation index at: https://docs.aihubmix.com/llms.txt
> Use this file to discover all available pages before exploring further.
# Quickstart
> [MCP](https://modelcontextprotocol.io/introduction) simplifies how you provide tools to LLMs
## Introduction
The MCP Generator is a CLI tool that generates an MCP server based on your company's documentation & OpenAPI specification if available. It takes in your documentation and a OpenAPI spec and outputs an MCP server that can be used with any MCP client. The MCP Generator is delivered via [npm package](https://www.npmjs.com/package/mcp) and generates an MCP server that can be used with any MCP client.
Mintlify enables you to create an MCP server that allows AI tools to interact with your docs in these key scenarios:
1. **Docs Q\&A**, similar to our AI Chat. This is automatically enabled for your docs, no setup required.
2. **Real-time API querying**, if you have an OpenAPI spec, head to the `Mintlify Dashboard > Products > MCP Server` and hit the toggle to enable your OpenAPI spec.
By enabling the OpenAPI toggle, you are allowing the MCP server to access
**all** endpoints in your OpenAPI spec.
## Install the MCP server
This page is dedicated to the Mintlify MCP Server. If you are looking for information on generating your MCP, please refer to the [MCP Generator](/advanced/mcp/generate) page.
## Example installation with the Mintlify MCP server
To use the Mintlify MCP server you will need an [API key](https://mintlify.com/docs/advanced/rest-api/overview#authentication) from your Mintlify account. If you don't have one, navigate to `Settings > API Keys > Chat API Key` and create a new key.
## Start the MCP server locally
Run the following command to install the server:
```bash theme={null}
npx @mintlify/mcp add mintlify
```
The following response will be given after running the previous command:
```
> What is the Authorization (basic token)?
```
Using your API chat key, copy the authentication token and paste it into the CLI.
You can now run:
```bash theme={null}
npm --prefix ~/.mcp/mintlify start
```
## Use your server with Claude
Download the [Claude Desktop App](https://claude.ai/download)
Once you have the Claude Desktop App installed, follow these steps:
Add the following to the `claude_desktop_config.json`:
```json theme={null}
{
"mcpServers": {
"mintlify": {
"command": "npm",
"args": [
"--prefix",
"~/.mcp/mintlify",
"start"
]
}
}
}
```
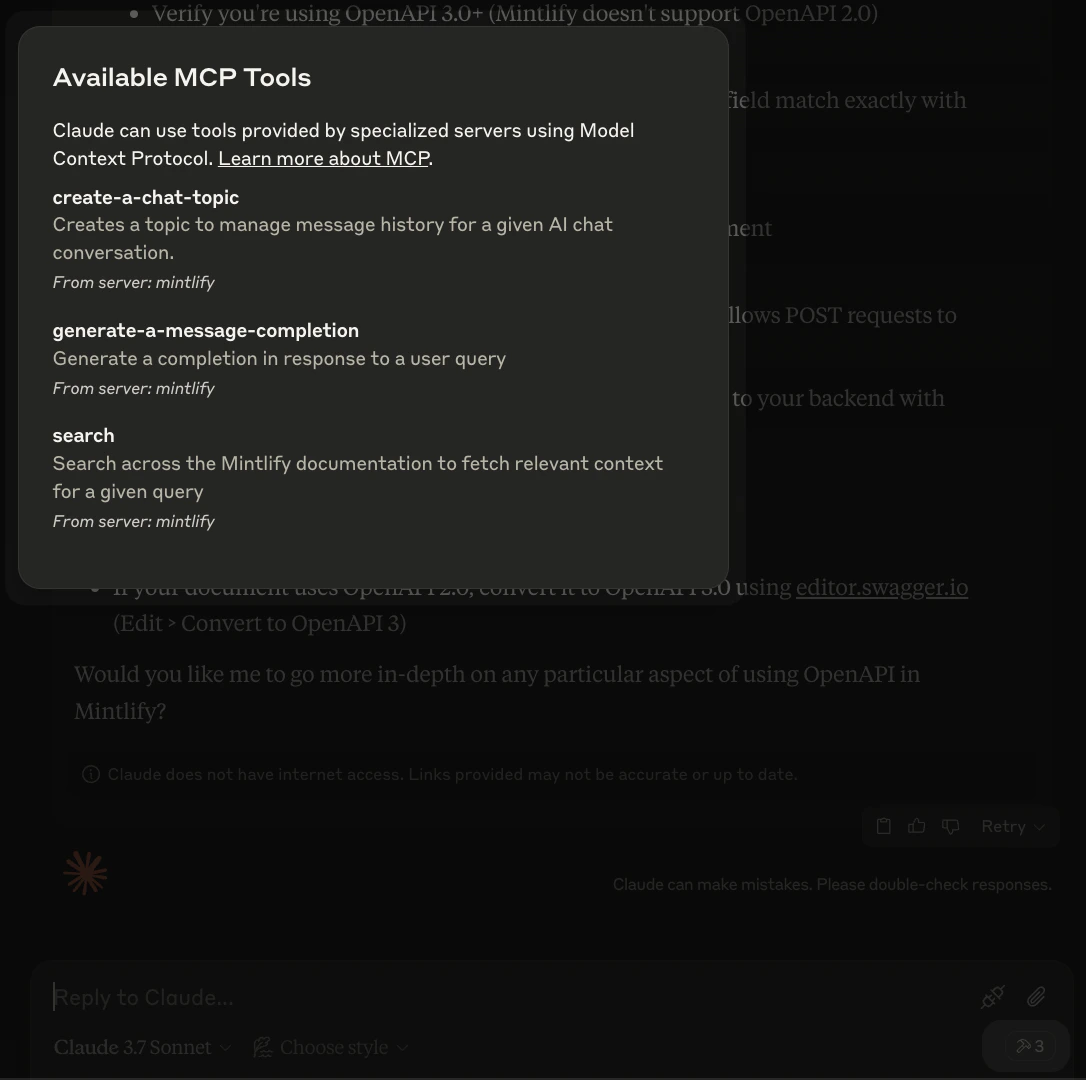
If you click on it, you should see the available MCP Tools in your server.